This week I want to write about infrared photography and show a few of my infrared photos.
In high school, a buddy of mine shot infrared film, but I didn’t really get into it. I kinda thought it was a little gimmicky, but I’ve changed my mind. A couple of years ago a friend of mine, who passed away just over a year ago, encouraged me to explore infrared photography. He wanted me to offer a class on it, so that he could take it. To encourage that, he converted an old camera and gave it to me.
That was in 2017. It has taken me six years to get a grip on infrared photography, but I feel like I’ve finally gotten a good feel on what I want from it. When my friend passed away last year, I dove into IR even more than the past with the goal of refining my approach and hoping that I could eventually teach it.
And here I am. I’m teaching an North Shore Infrared Photo Workshop next year. There are three spaces still open on the workshop. As a little aside: I opened my 2024 photography workshops for registration last week. It was a busy registration week for me. Out of the 13 workshops that I opened for registration, five are now sold out. There are waiting lists available. Two have one or two spaces left. Two are nearly full, and two are half full. The rest have a few registrations, such as the winter workshops. Few sign up for those in spring just as we are getting out of winter. For me, it was a really exciting week. I never know how my workshops are going to appeal to people. I took a risk for 2024 by running more in Minnesota than at destinations around the country. Thank you for signing up if you did. It makes me feel humbled and a little overwhelmed by the support.
Anyway, let’s get back to infrared.
Infrared is so interesting to me. It’s part of the light spectrum that the camera can "see,” but our eyes cannot. In order for our eyes to see infrared light, we have to shift that light from infrared into the type of visible light that our eyes can see. Depending on how we are trying to capture infrared light with our camera, it gives a lot of leeway for artistic interpretation.
Infrared light is an example of how limited our human senses our to what actually exists in the world. It's also an example of how camera engineers manipulate the cameras to prevent them from being able to photograph “reality” (if infrared is part of reality and your camera is prevented from capturing it, you aren’t capturing reality).
Camera sensors are extremely sensitive to infrared light.
If the engineers did nothing, then all your pictures would come out of the camera with a color cast (usually red). But, they put a filter in front of the sensor that prevents most of the infrared light from hitting the sensor. It's just another manipulation of the process and art of photograph, and it's another example showing how photography doesn't actually capture reality despite people believing that it does.
If you aren't familiar with digital infrared the jist is this:
Digital cameras can record UV, Visible Light and Near Infrared, but UV and Near Infrared light mess up what Visible Light looks like when all three are recorded. Because most of the time we only want to take a photo of Visible Light, the light our eyes can see, the camera manufacturers add a UV/IR Cut Hot Mirror filter in front of the sensor. That filter stops UV and Near Infrared from reaching the sensor. That makes it so you only take a photo of Visible Light.
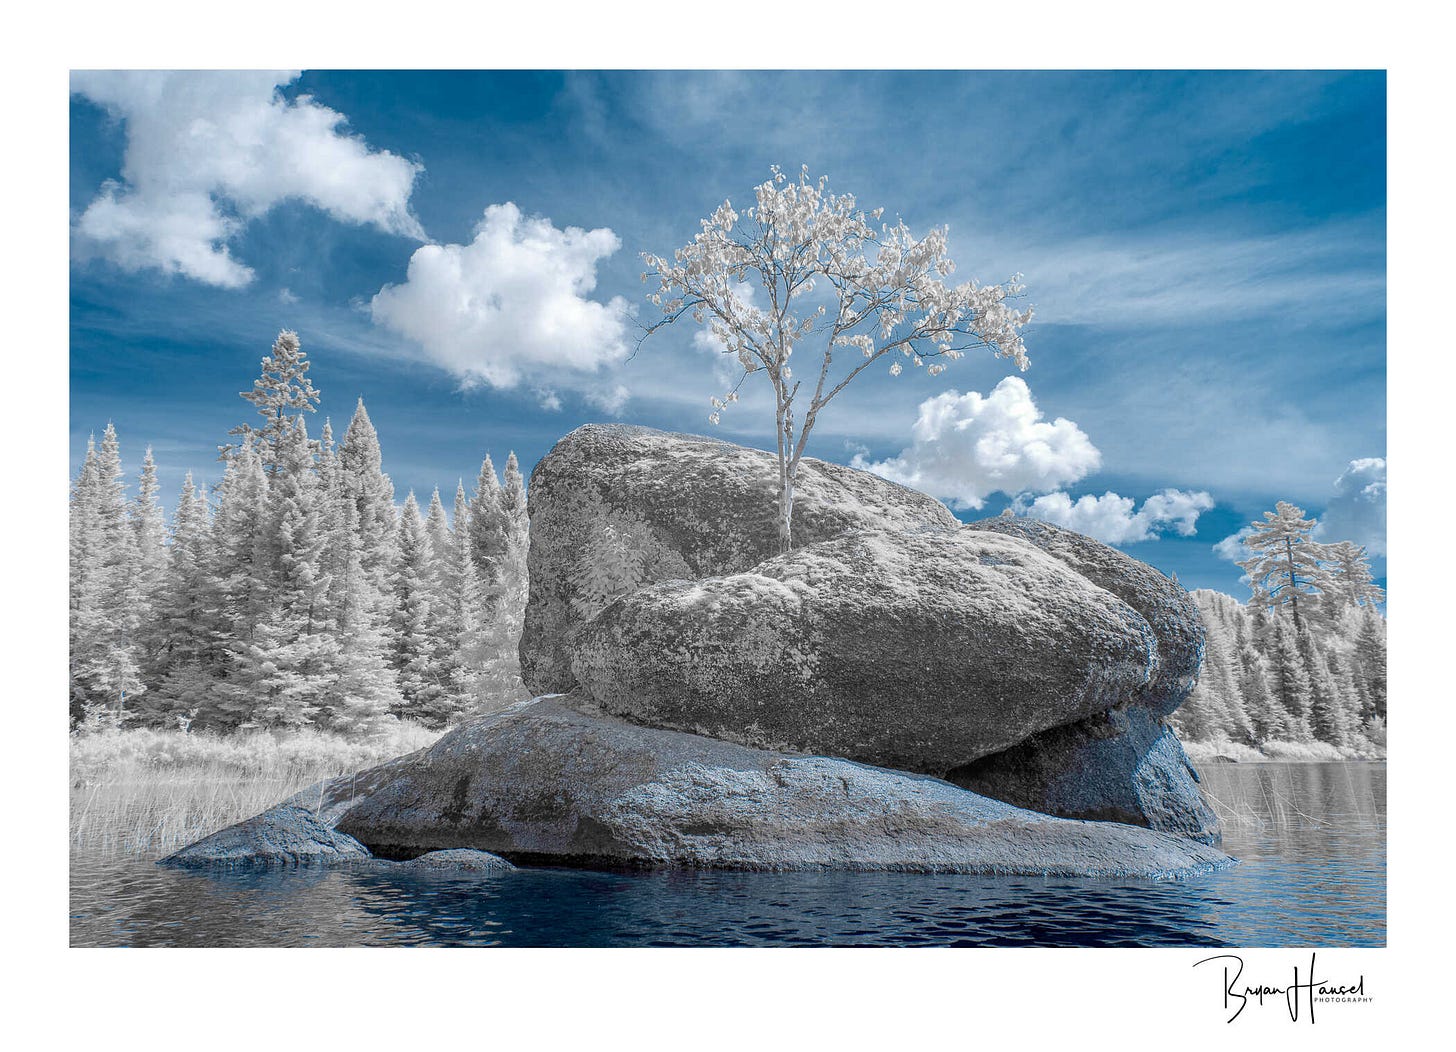
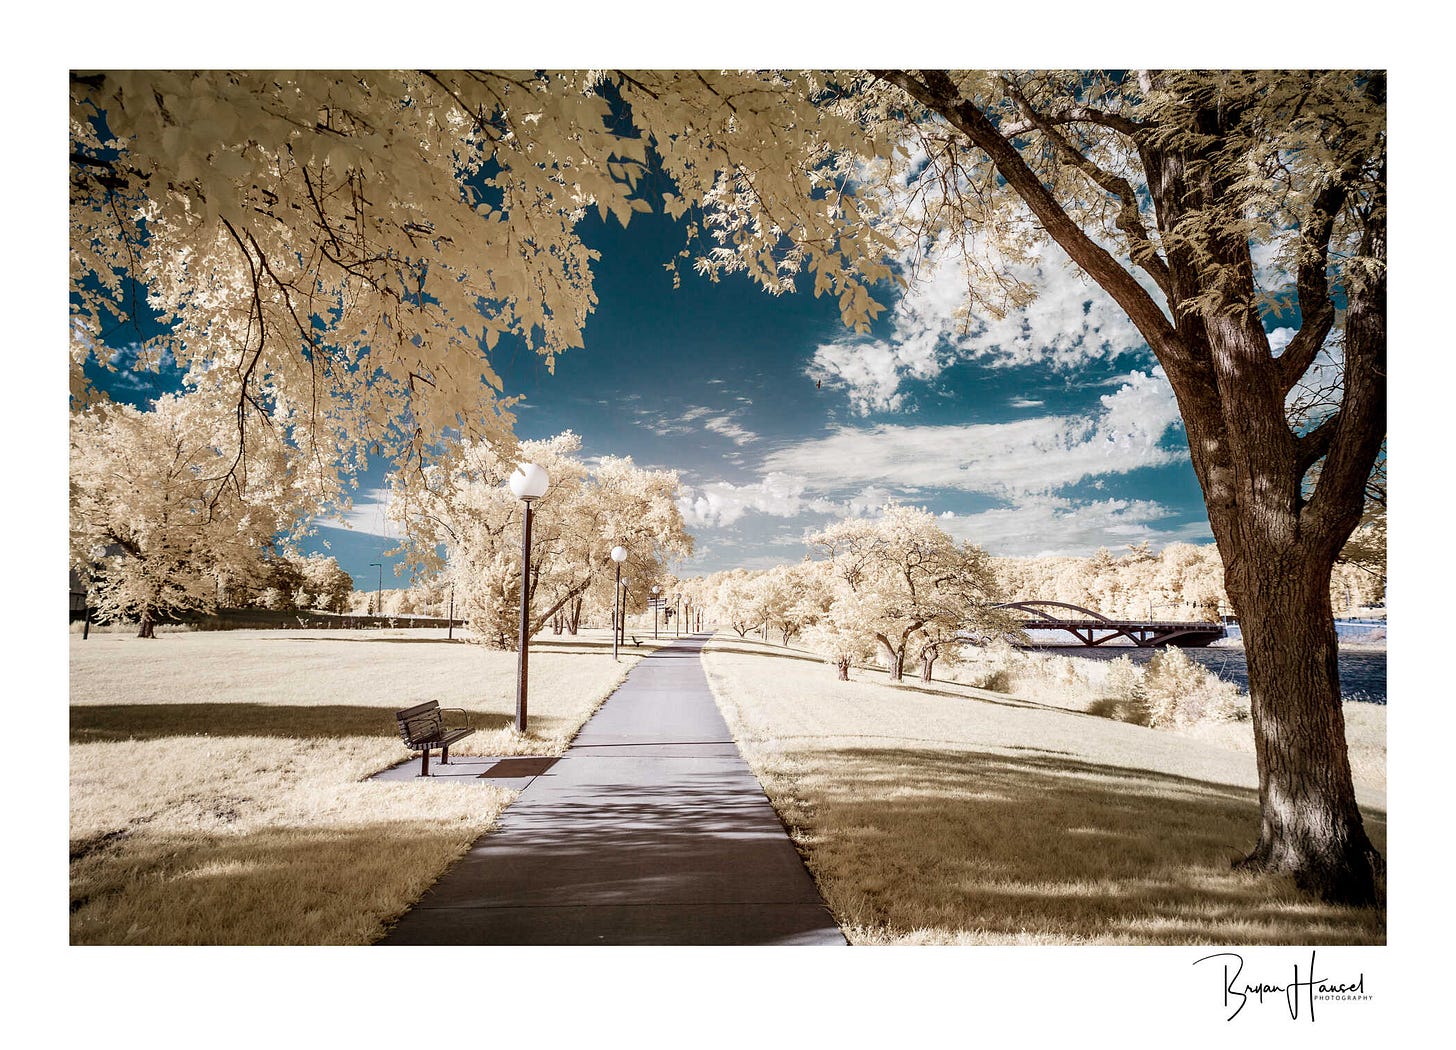
You can have the UV/IR Cut Hot Mirror filter removed and replaced with other filters. A popular one is the 720nm filter which blocks all UV and Visible Light (the most popular look of 720nm is white foliage and pale blue skies). That means only Near Infrared light is recorded.
The current filter that I have on my camera is a 665nm filter. It captures just a little bit of Visible Light and all of the Near Infrared. I've had a 590nm in the past which capture more Visible Light and all of the Near Infrared. I actually liked the 590nm better than my 665nm, but I don't want to spend the money to get a 590nm at this time. I like the look of 590nm better for black and white and false color than what I currently have.
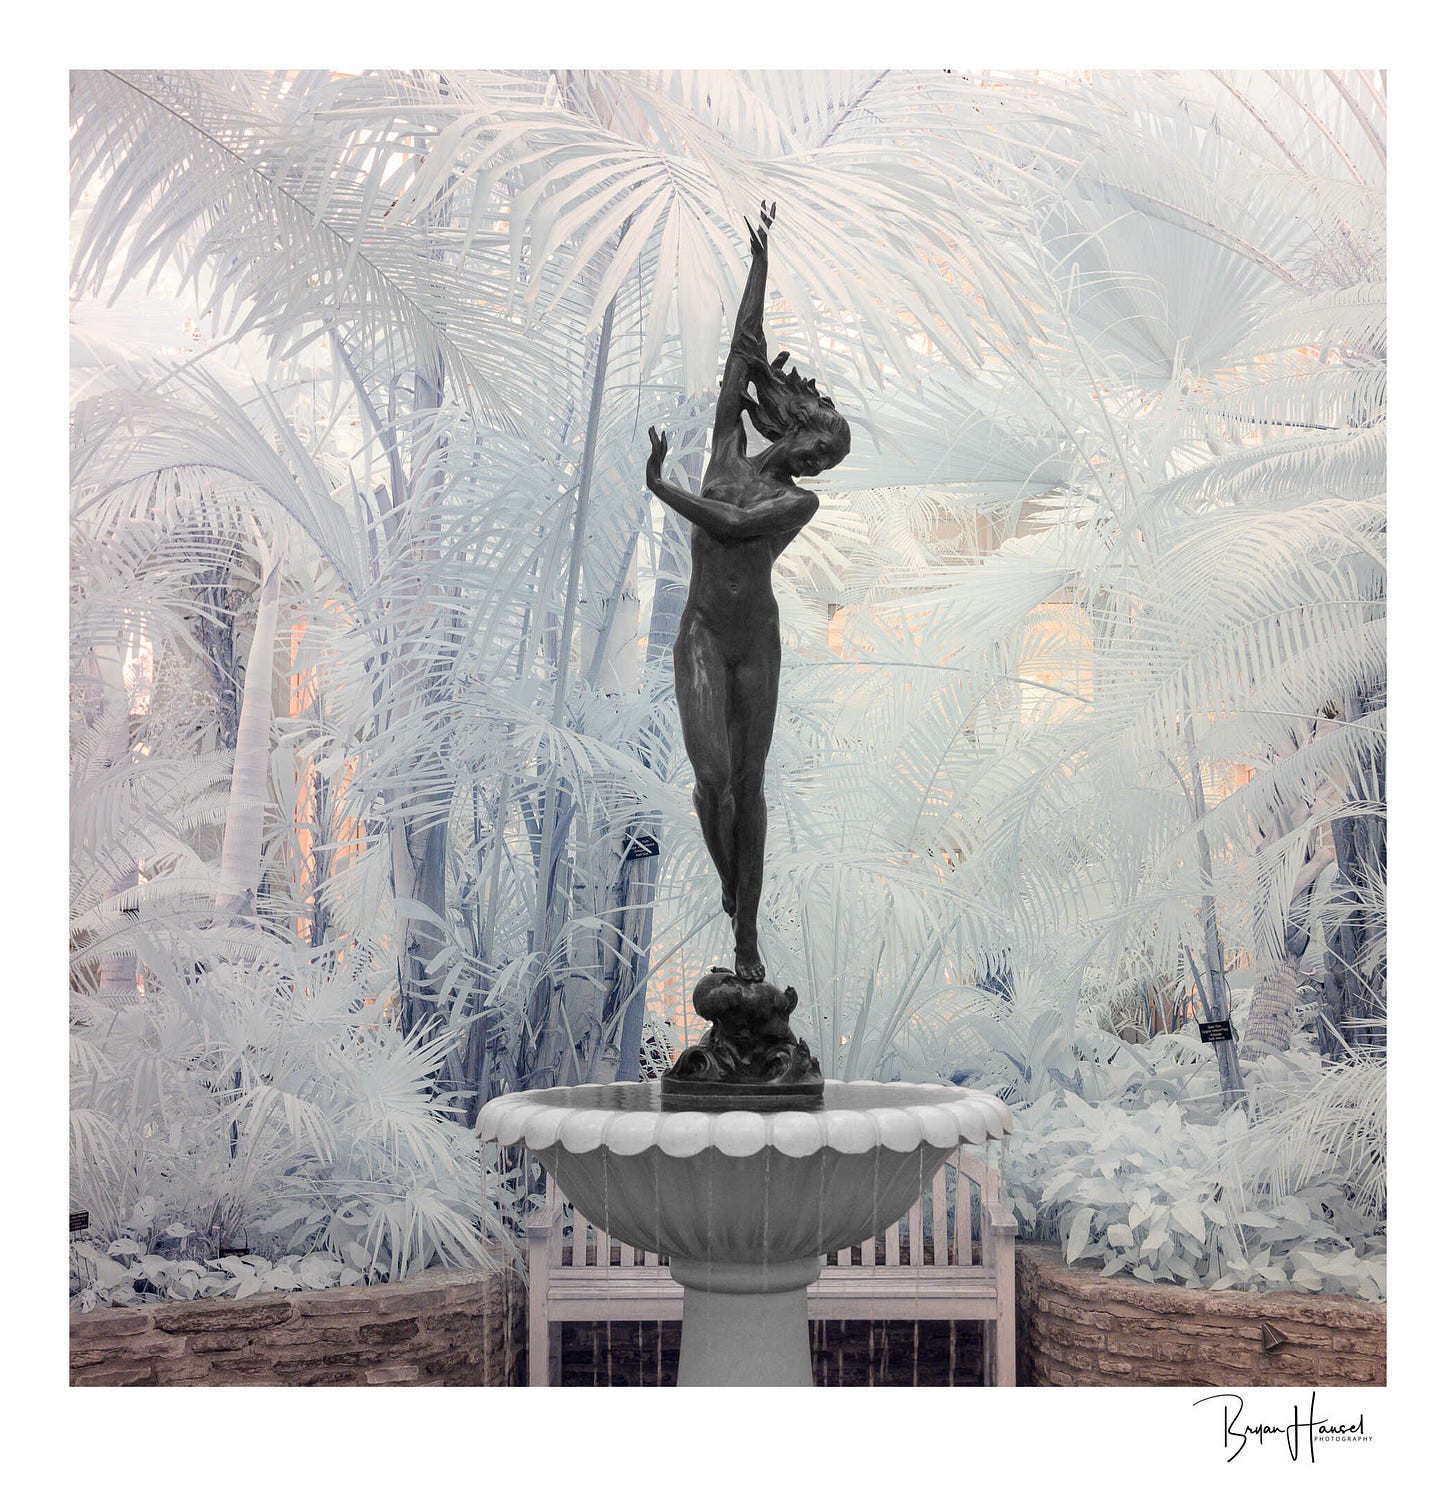
To make a digital camera into an infrared camera, you send the camera into a company, such as LifePixels or Kolari, and they remove the hot mirror filter. They install a custom filter that allows whatever part of the spectrum that you want to hit the sensor. That allows the camera to capture IR light. It's similar to how IR film works but with a digital sensor.
After you convert the camera, there isn’t a “color” version of the photo that comes out of the camera anymore. There are some exceptions. For example, you could get a full spectrum conversion and that would allow you to use filters to capture just the visible light spectrum. But, with a true infrared conversion there is no color version of the shot, because the camera doesn't take visible light pictures. To show what I mean, check out the four photos and a graphic below.
The above ink and watercolor graphic shows UV, Visible Light and Near Infrared. Humans can see Visible Light. Other animals have better vision and can see UV or Near Infrared or both. Some animals can see beyond Near Infrared into what we think of a thermal imaging.
The various popular conversions capture a bit of color and nearly all of the near infrared spectrum. The most flexible infrared conversion is the 590nm. You can use filters to achieve a 665nm or 720nm or even a 830nm look. All you have to do is buy the filter and put it in front of your lens. So by getting a 590nm, you have a lot of flexibility at the added expense of filters.
The four photos below were taken with my 665nm converted camera.
Photo 1: This is what the images look like without a custom white balance. Some people would call this straight-out-of-the-camera (I'm not going to go into why this term is wrong in this post. You never see the data that comes straight-out-of-the-camera. It's always manipulated in some way -- either by the camera programing, editing, display software, or the AI built into phones). So without making any adjustments to “correct” for the red, this is the image. There’s no visible color image.
Photo 2: This is what it looks like out of my camera. I have set a custom white balance in the camera to get as close to a neutral white balance as I can in camera. This is also “straight-out-of-camera.”
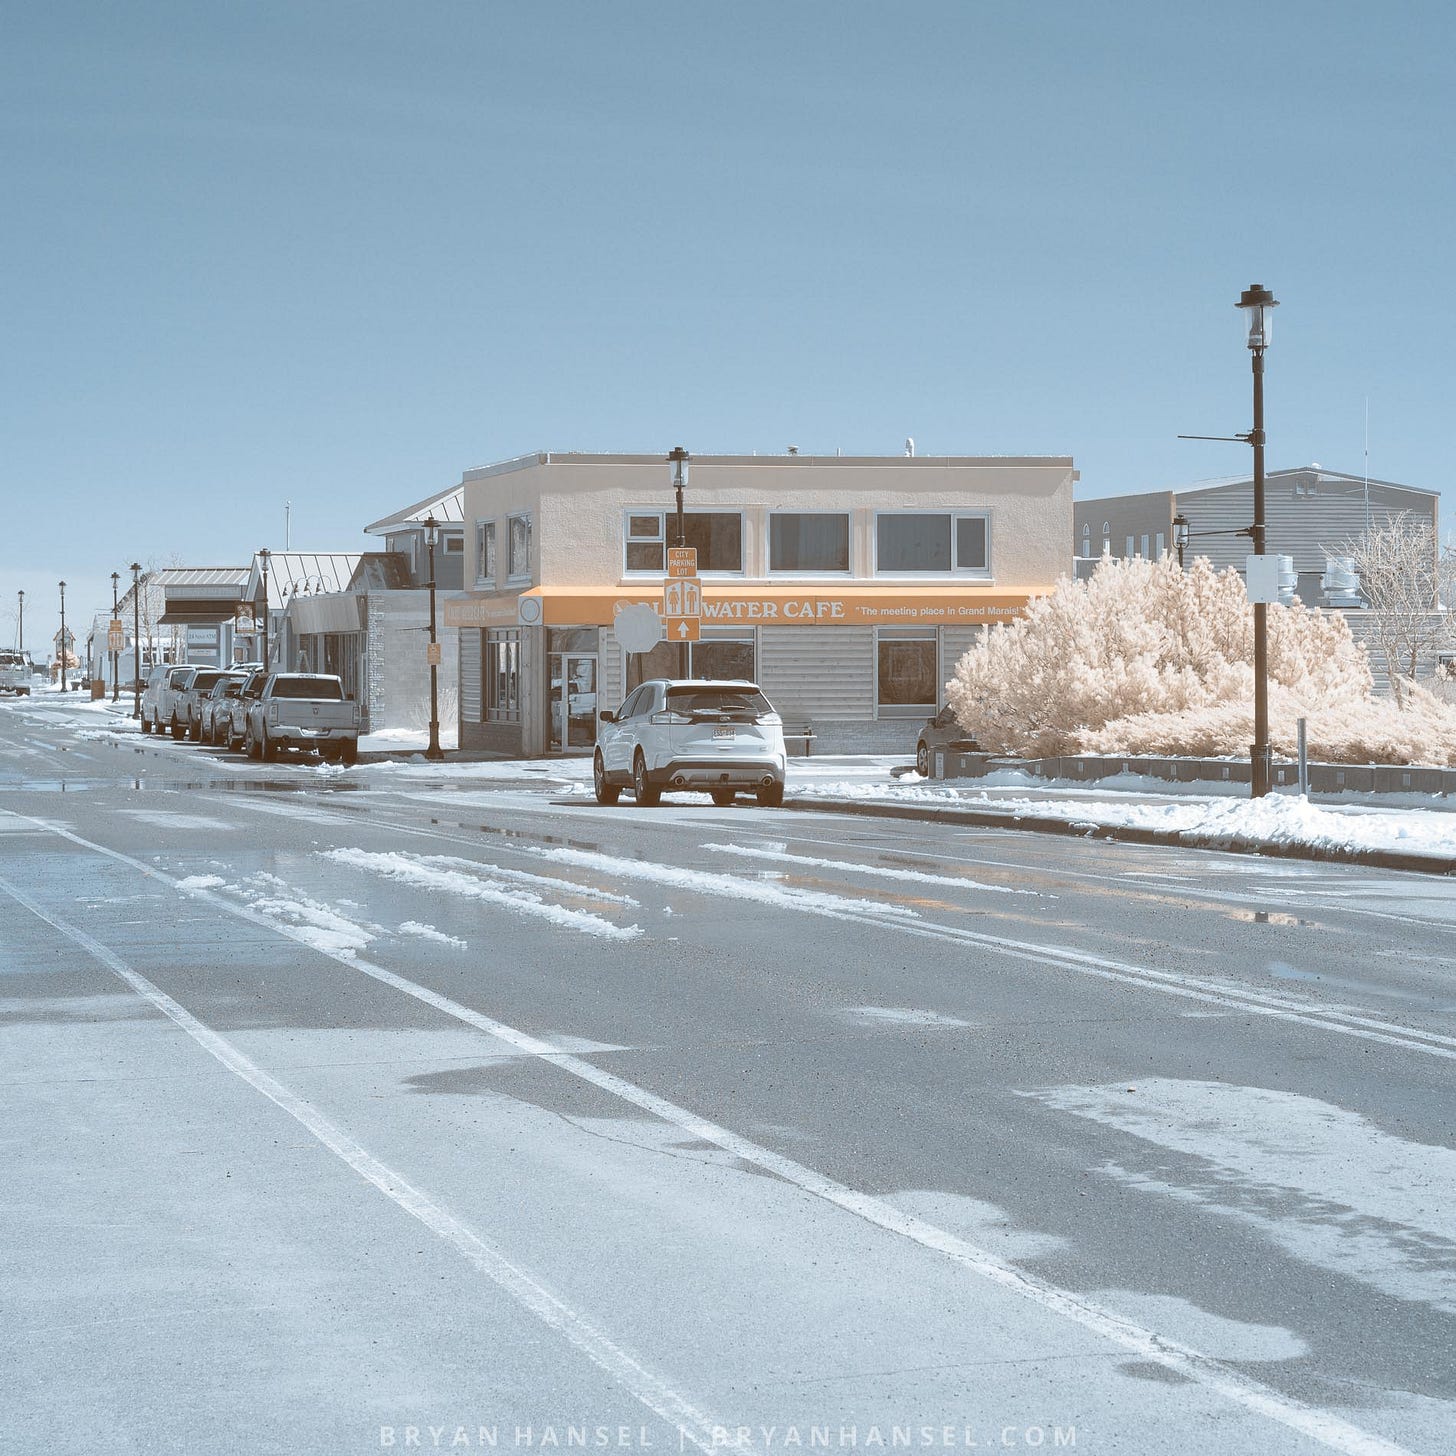
Photo 3: This is fixing the white balance completely using a custom Lightroom Camera Profile that I made, and then swapping the red and blue channels to get the blue sky. This is false color. I could have also made the foliage a different color by manipulating the color balance in the image. Our eyes can't see this light, so you can have a bit of fun with it.
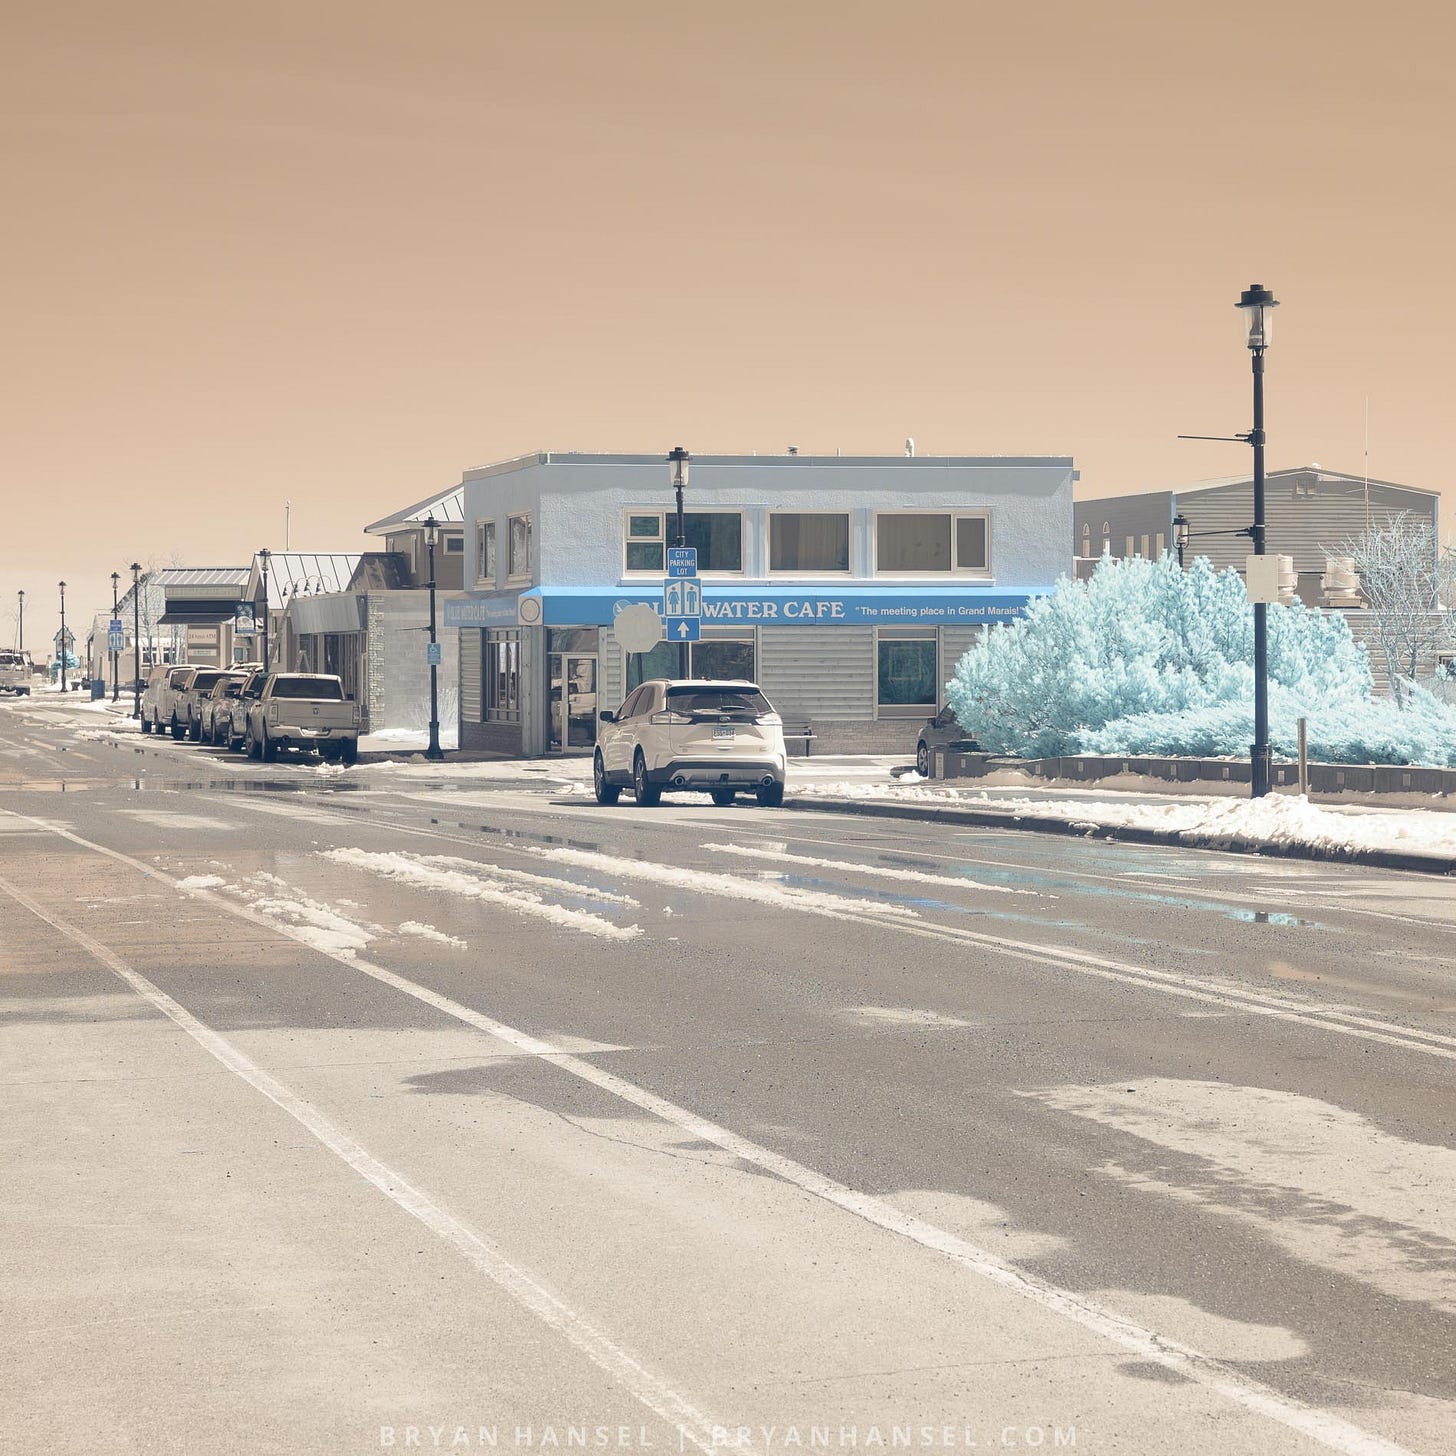
Photo 4: This is fully edited in Lightroom using custom profiles that I made. I also didn’t like how blue the road looked, so I desaturated it to make it look more like visible light.
Before showing more photos, there’s another way to get infrared photos. You can buy a 690nm or a 720nm filter and put it on the lens of your regular digital camera. This allows you to try infrared photography without having to convert a camera. The only downside is you’ll need to use a tripod and do long exposures.
The first two of the following four photos were taken with my regular Nikon Z 7II using a Singh-Ray 690nm Infrared filter (If you want to buy that filter, you can save 10% by using the code “thathansel”). I think this is a great way to experiment with infrared without getting a camera conversion. It’ll work with any camera.
The last two were taken with my converted camera.
Photo 1: This is from a unconverted camera using a filter on the lens. It’s color corrected with a custom Lightroom profile that I made.
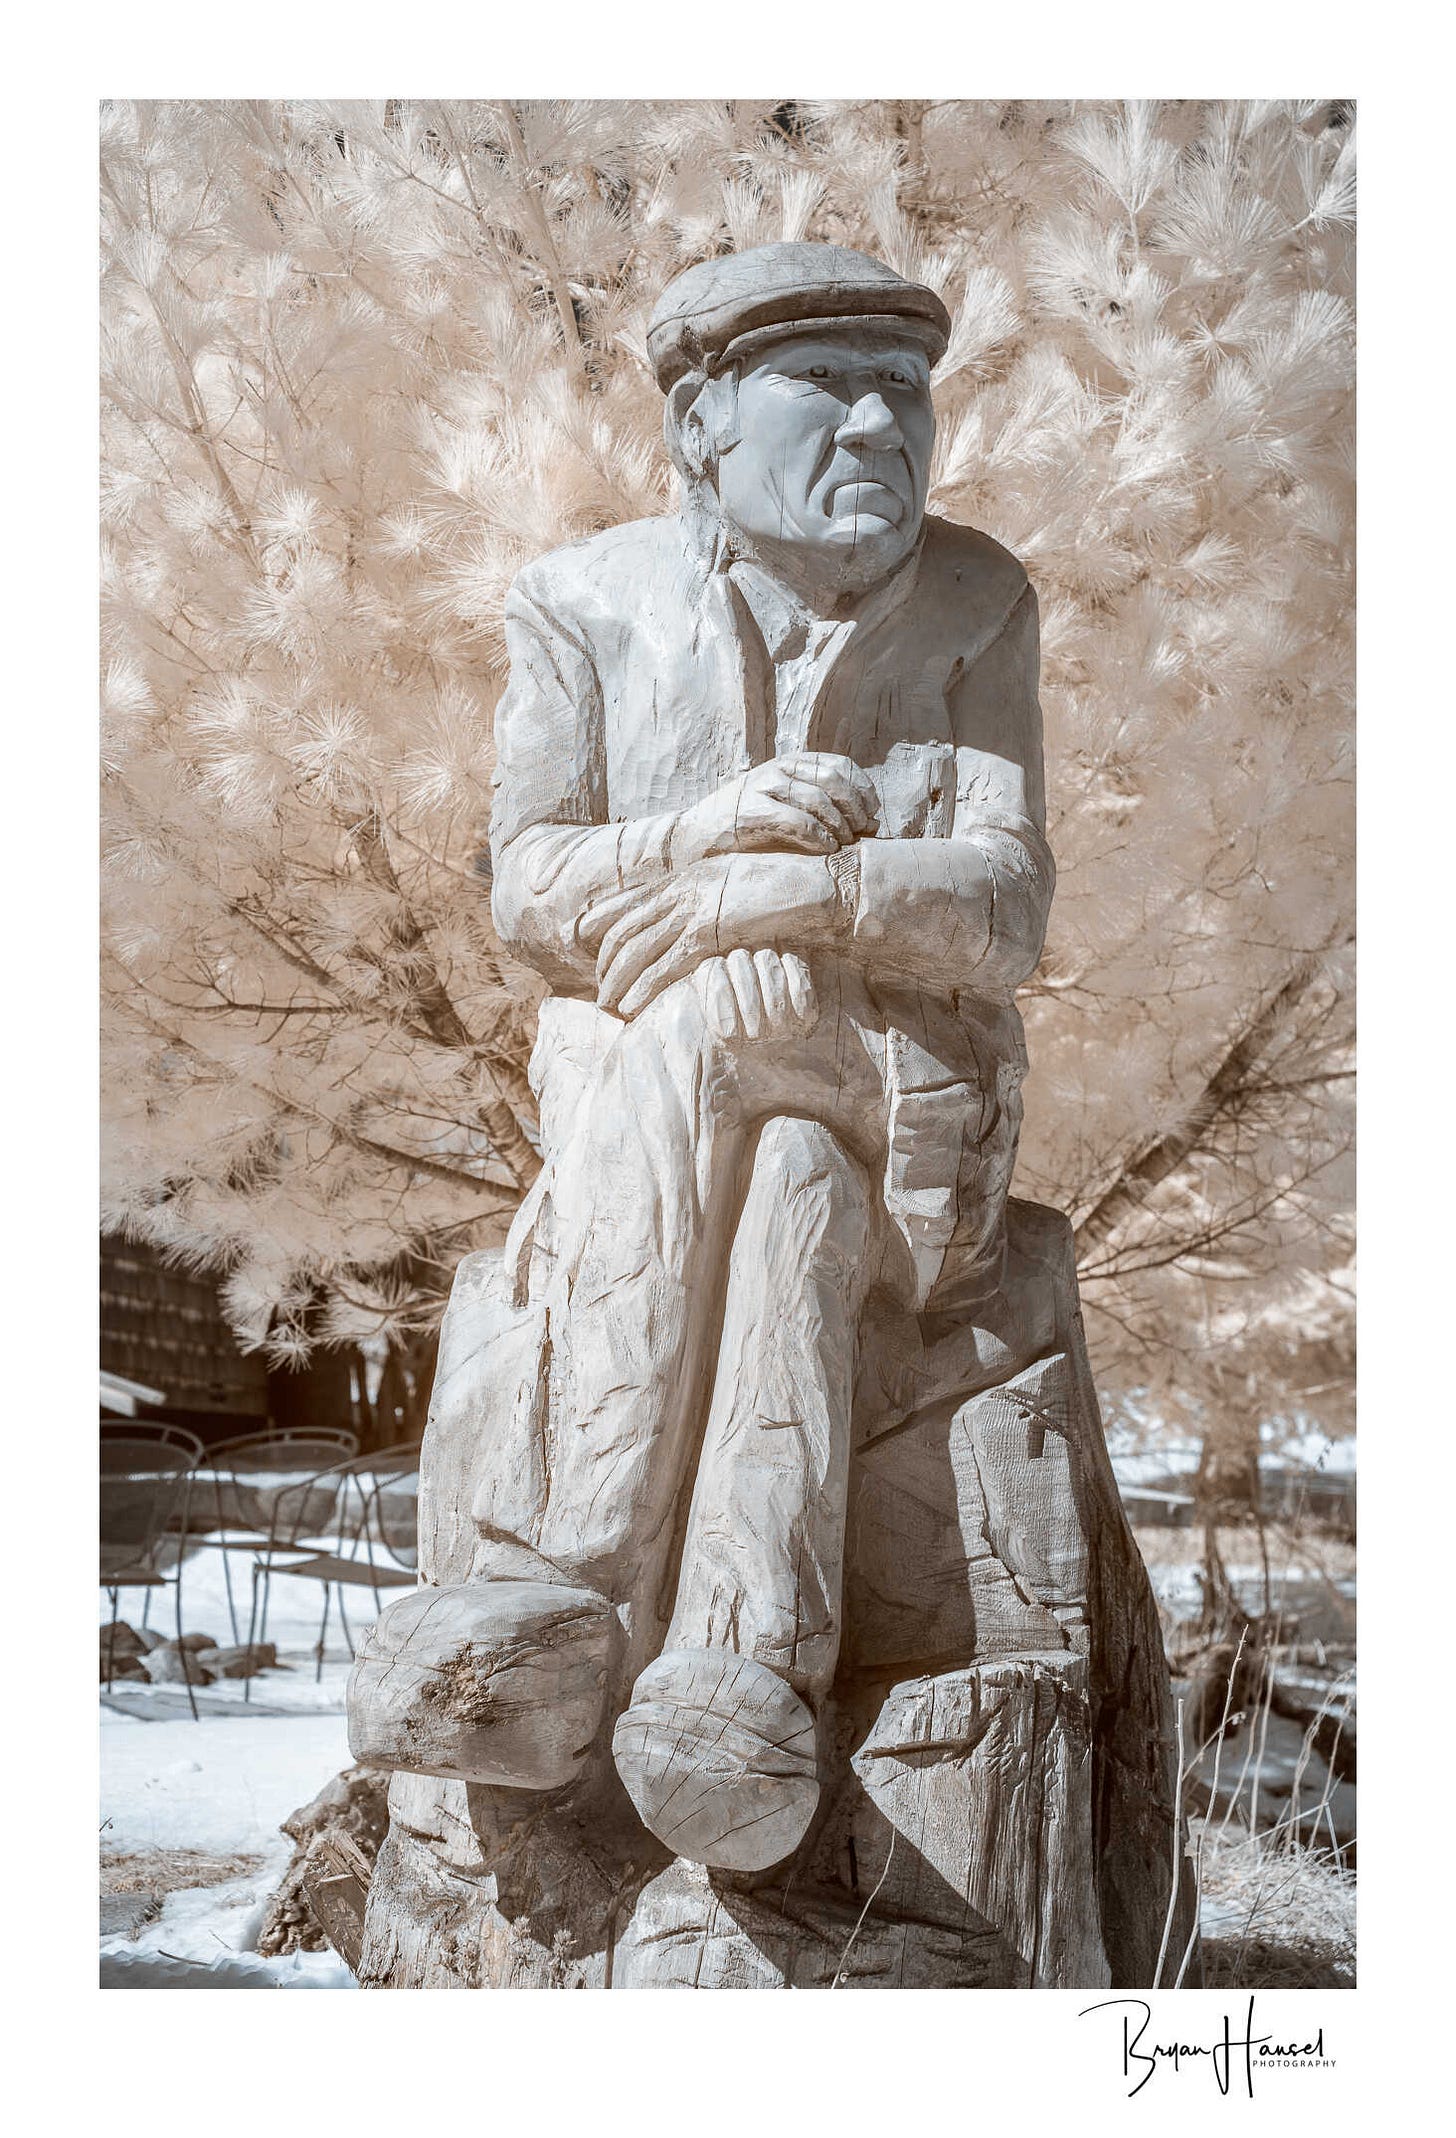
Photo 2: This is the same photo, but I swapped the red and blue channels to flip the colors. I really like this look. Due to the long exposure, you can see movement in the pine needles. I think that helps separate the wooden carving from the tree.
Photo 3: Taken with my 665nm converted camera.
Photo 4: Taken with my 665nm converted camera with the Singh-Ray 69 nm filter used as well.
I like all these photos and find it really interesting that my Z 7II gives a different look than my converted camera. I dig it. Getting a 690nm or 720nm filter is a fun way to experiment with IR without converting your camera.
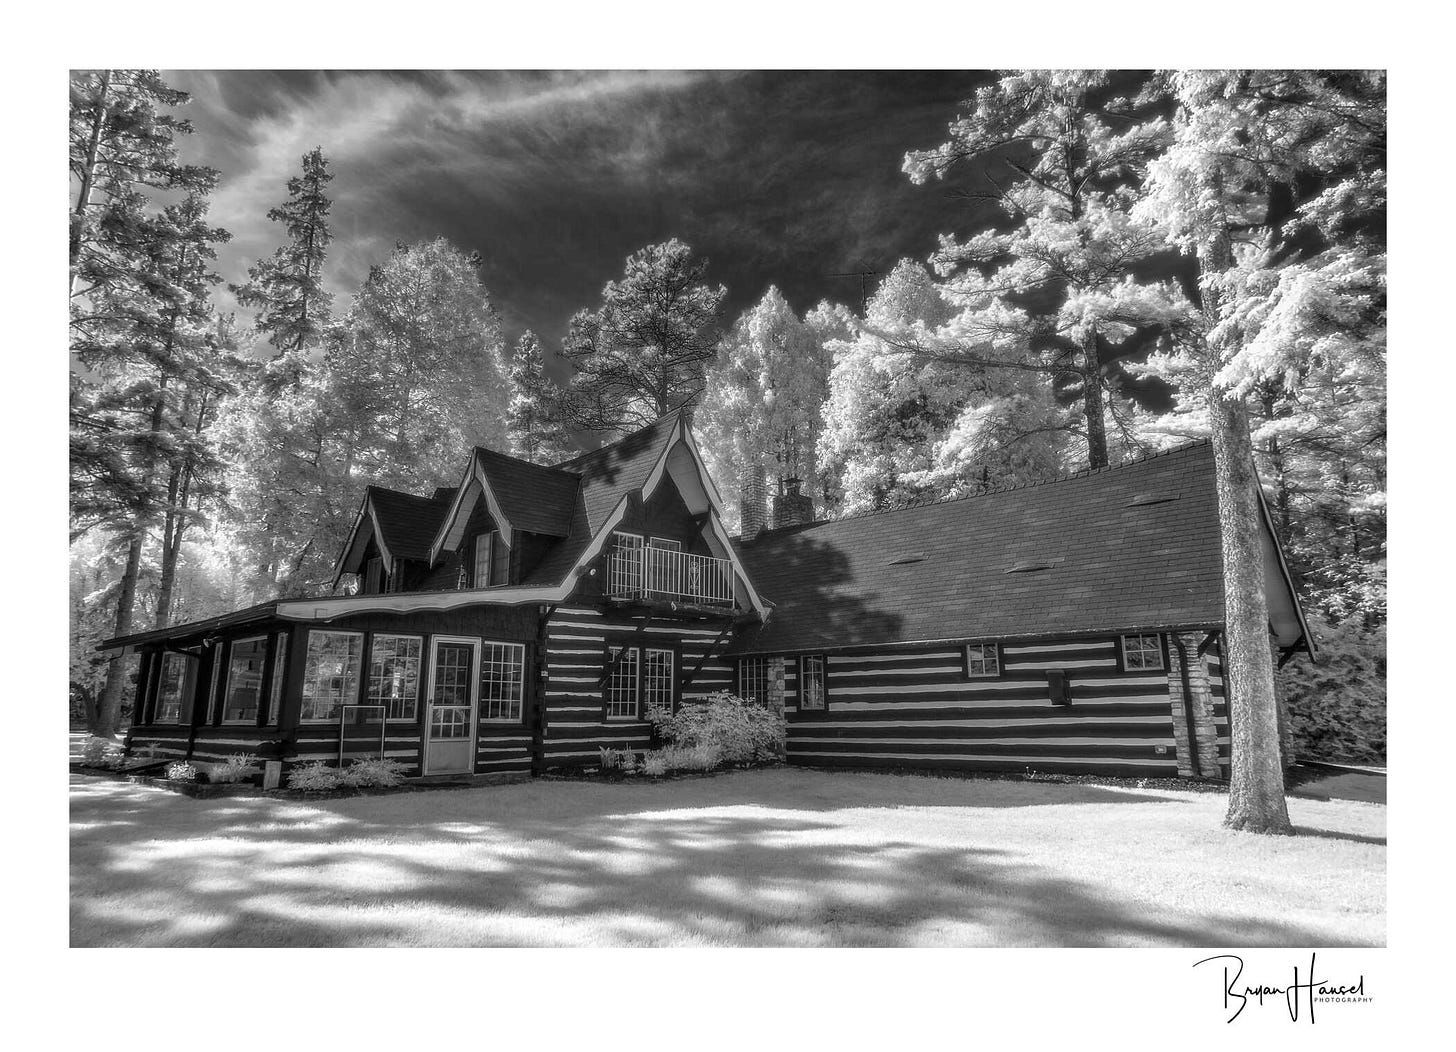
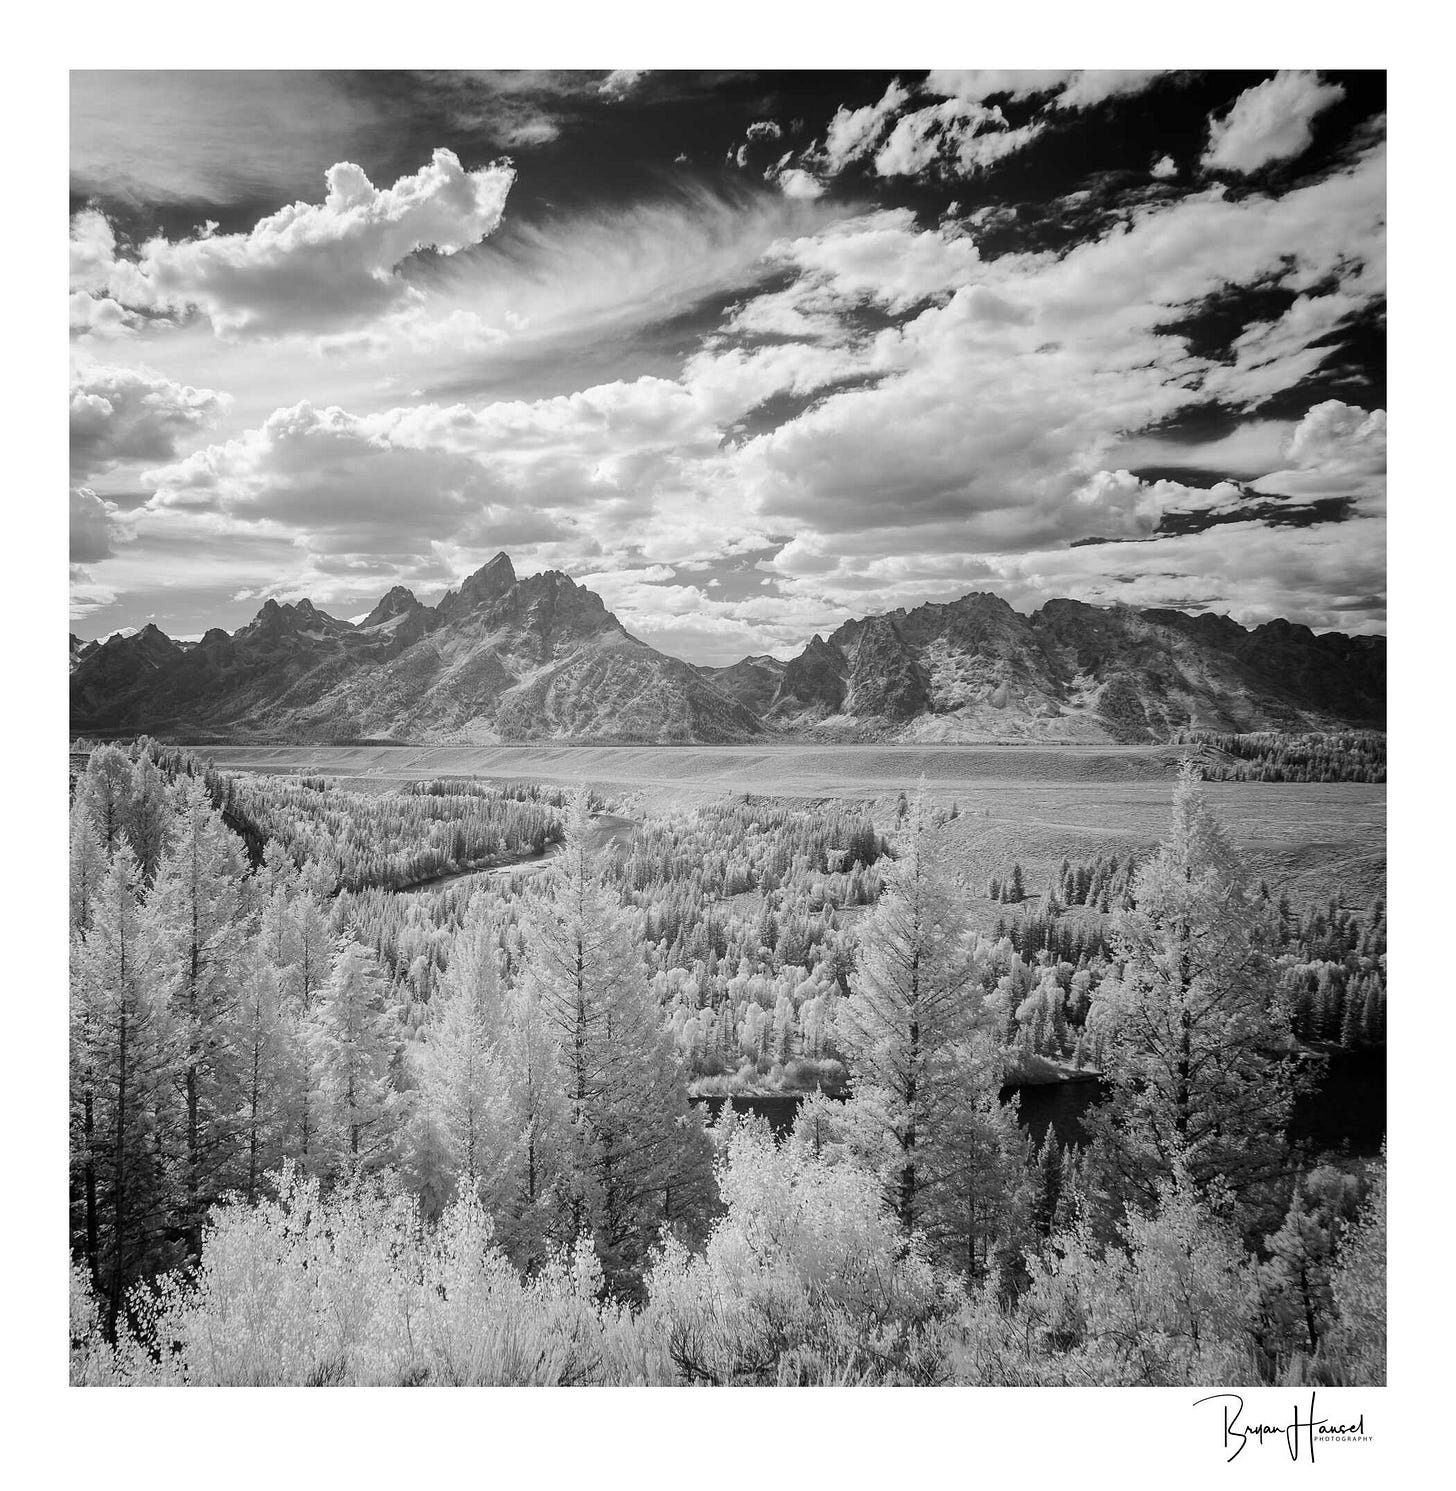
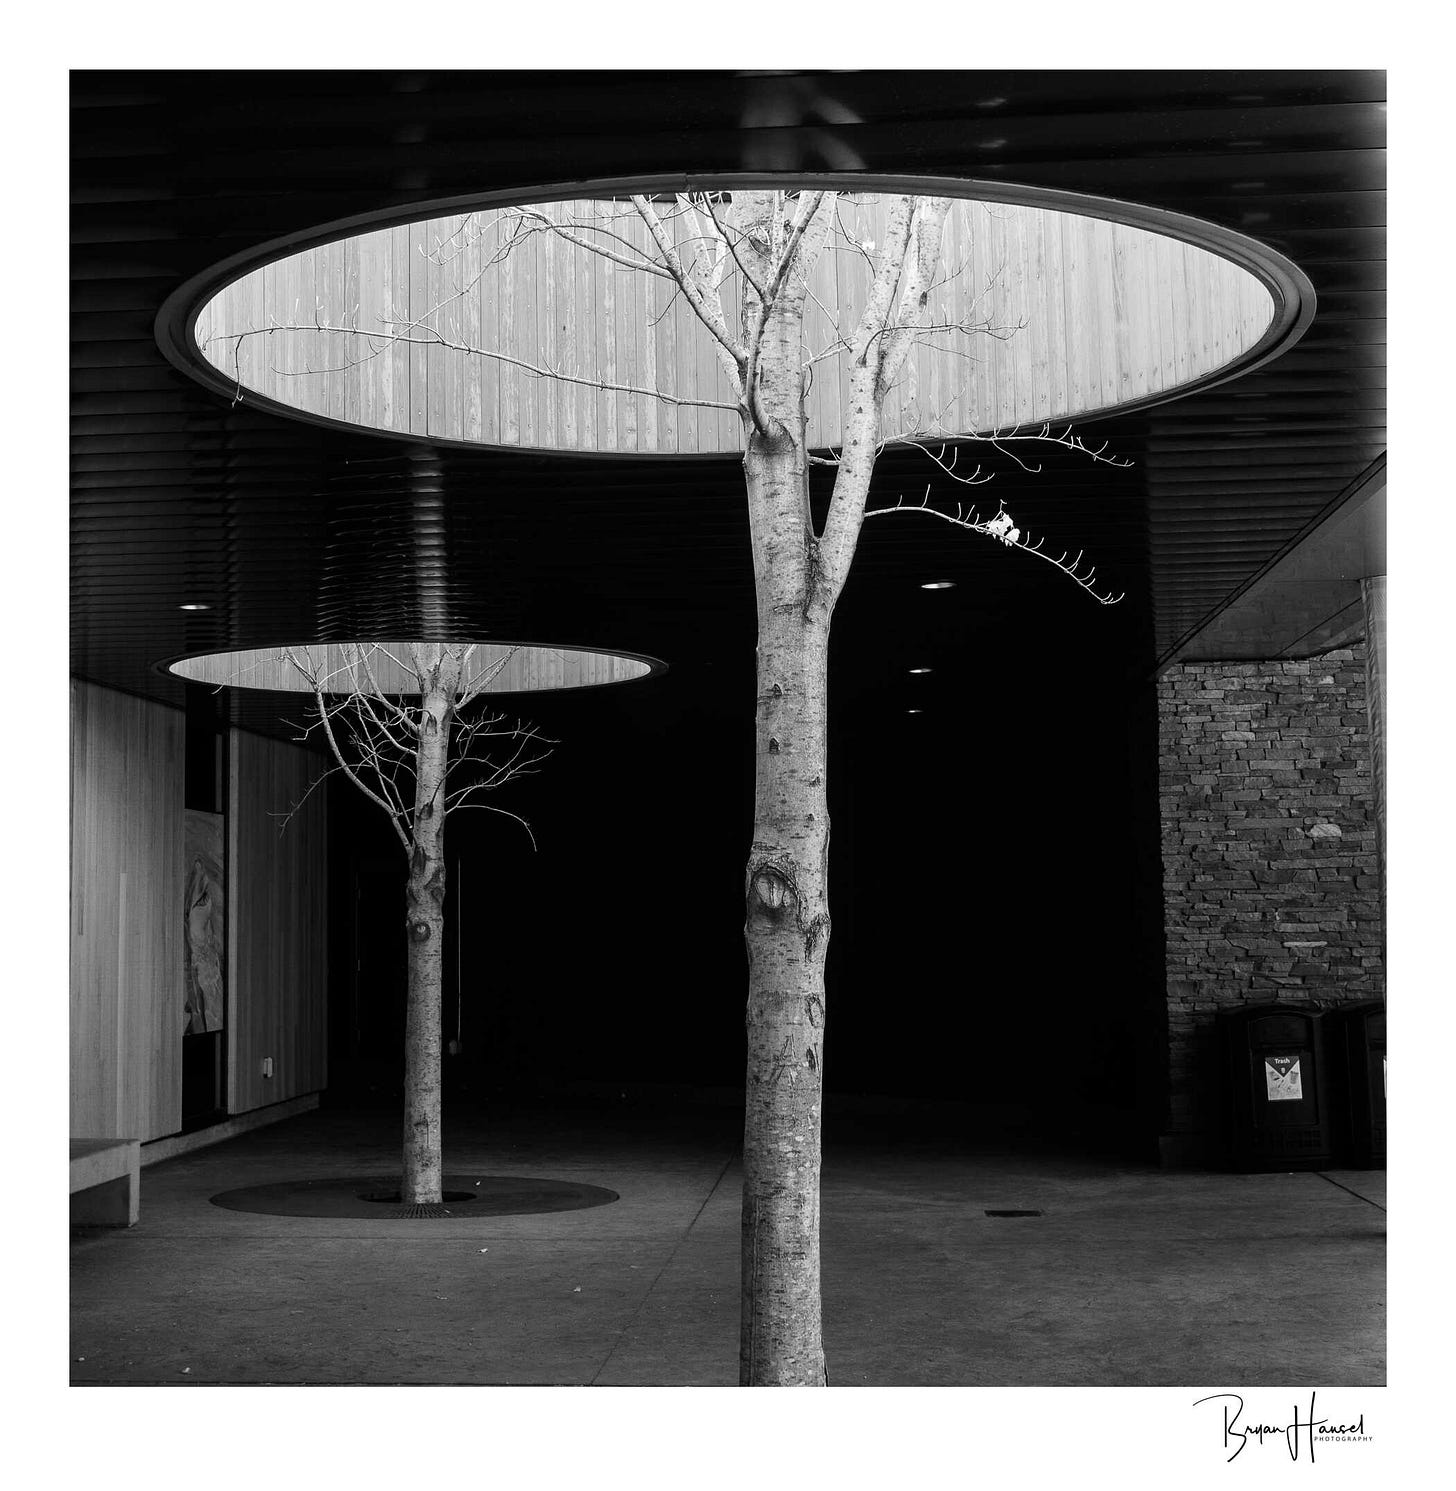
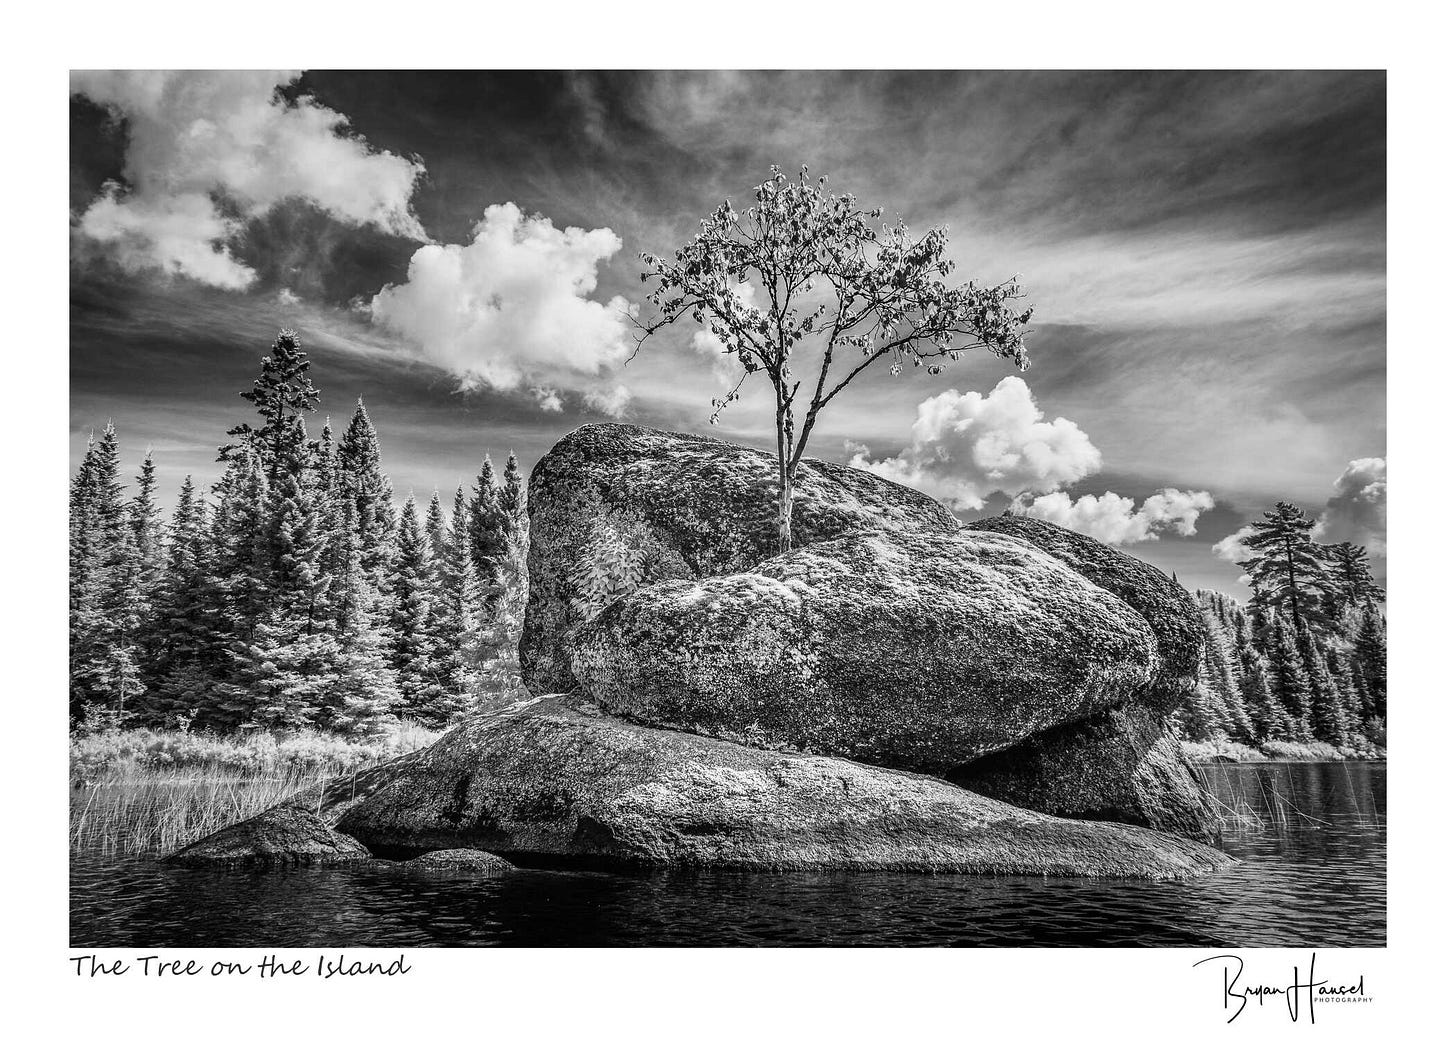
Finally, I want to show a few of my black and white infrared images. To make these, I use my converted camera set to record RAW images in monochrome. The key to these is finding a way to build contrast into the image. You can do that by taking advantage of the Wood effect, which is the effect that turns plants white. By juxtapositioning those plants against a dark sky or other dark object, it can make a really interesting photo. This also works well midday when landscape photography isn’t ideal. That makes infrared photography a good compliment to normal landscape photography, which you do during the golden hours that happen around sunrise and sunset.
This next black and white image is the black and white version of the opening photo. I consider this the official version of the photo.
Until next time
I hope you enjoyed this dive into infrared photography, and I hope it helped answer any questions that you had about infrared photography. It’s a lot of fun, so I hope you’ll give it a go at some point. I’ve gotten a lot of joy out of it.
If you are considering converting a camera, I’d highly recommend getting a full spectrum conversion of a mirrorless camera done by Kolari Vision and then using their internal filter system to change what spectrum you want to photograph. By doing this, you’ll still be able to use your camera as a visible light camera. You’ll be able to pick which filter you want for infrared and you could even get an h-alpha filter for night photography. If I convert another camera, I’ll go this route.
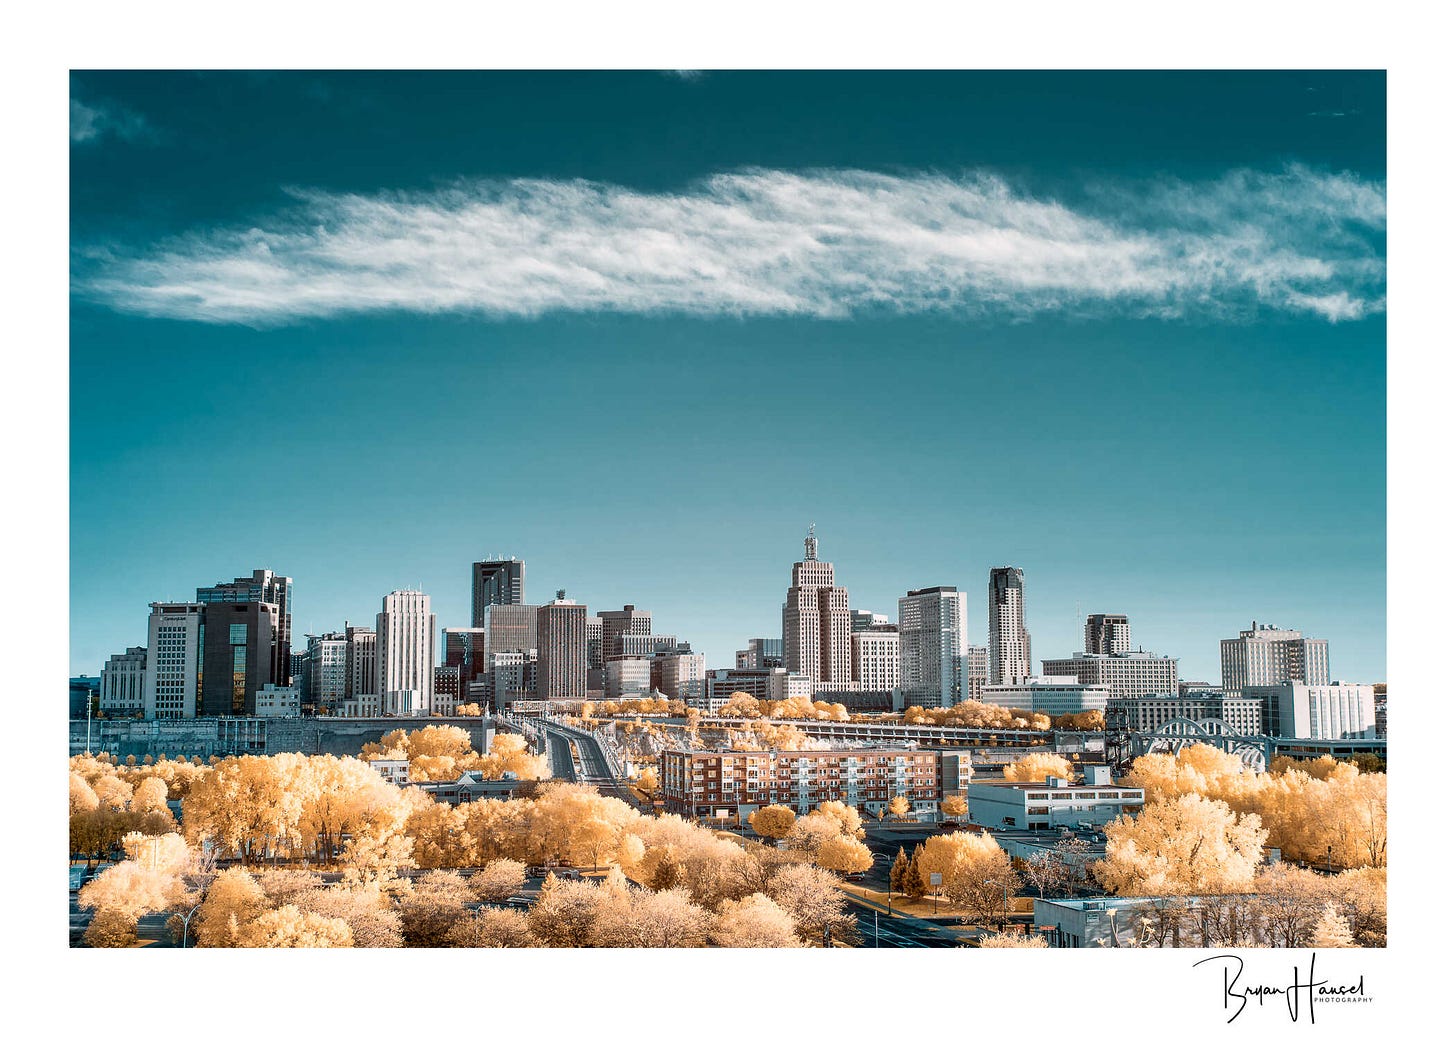
I’ll see you again in two weeks and here’s a final photo.








Thanks Bryan
Doesn’t the JJW telescope also capture in IR and needs computer conversations to make visible interpretations to allow our eyes see? Another great newsletter episode! Still trying to figure out and understand why the general public is so fixated on the notion “straight out of the camera”.