It’s summer. It’s starting to get hot. It got up to 78°F yesterday on Minnesota’s North Shore. At 80°F people start calling in sick to work. When I first moved up here, I thought people were joking about that. They weren’t. I don’t think it happens as much anymore though. I ran into someone I know who was working, and she said she wasn’t going to leave work because the store had air conditioning and her home didn’t. Few of the homes in the Grand Marais area were built with air conditioning because in the past it was never an issue.
While it may be hot—after months of rain—we had six clear nights in a row. Those six clear nights happened during the new moon and waxing moon and during a night photo workshop I was teaching.
During the workshop, we shot lots of locations, and I taught the participants how to edit with the new version of my Adobe Lightroom Night Sky Presets. We also dove into Photoshop because a few students wanted to learn how to blend foreground shots with night sky images. We also did a lot of demos in Lightroom (I’m teaching an online Lightroom class in November. You should come). Over the last couple of years, my participants have been asking for more editing instruction so I’ve added that to many classes in Minnesota, such as during next year’s Midsummer’s Dream Photo Workshop.
I’m always blown away by participants on my workshops, but I’ll have to say that I was really blown away by the creativity and results that the participants got on this workshop. I love being able to give back to the photography community through instruction. I think back to my high school teacher and how without his guidance I wouldn’t be doing what I’m doing. I’m hopeful that I can impact people’s lives in a fraction of the way he impacted mine.
How about some photos?
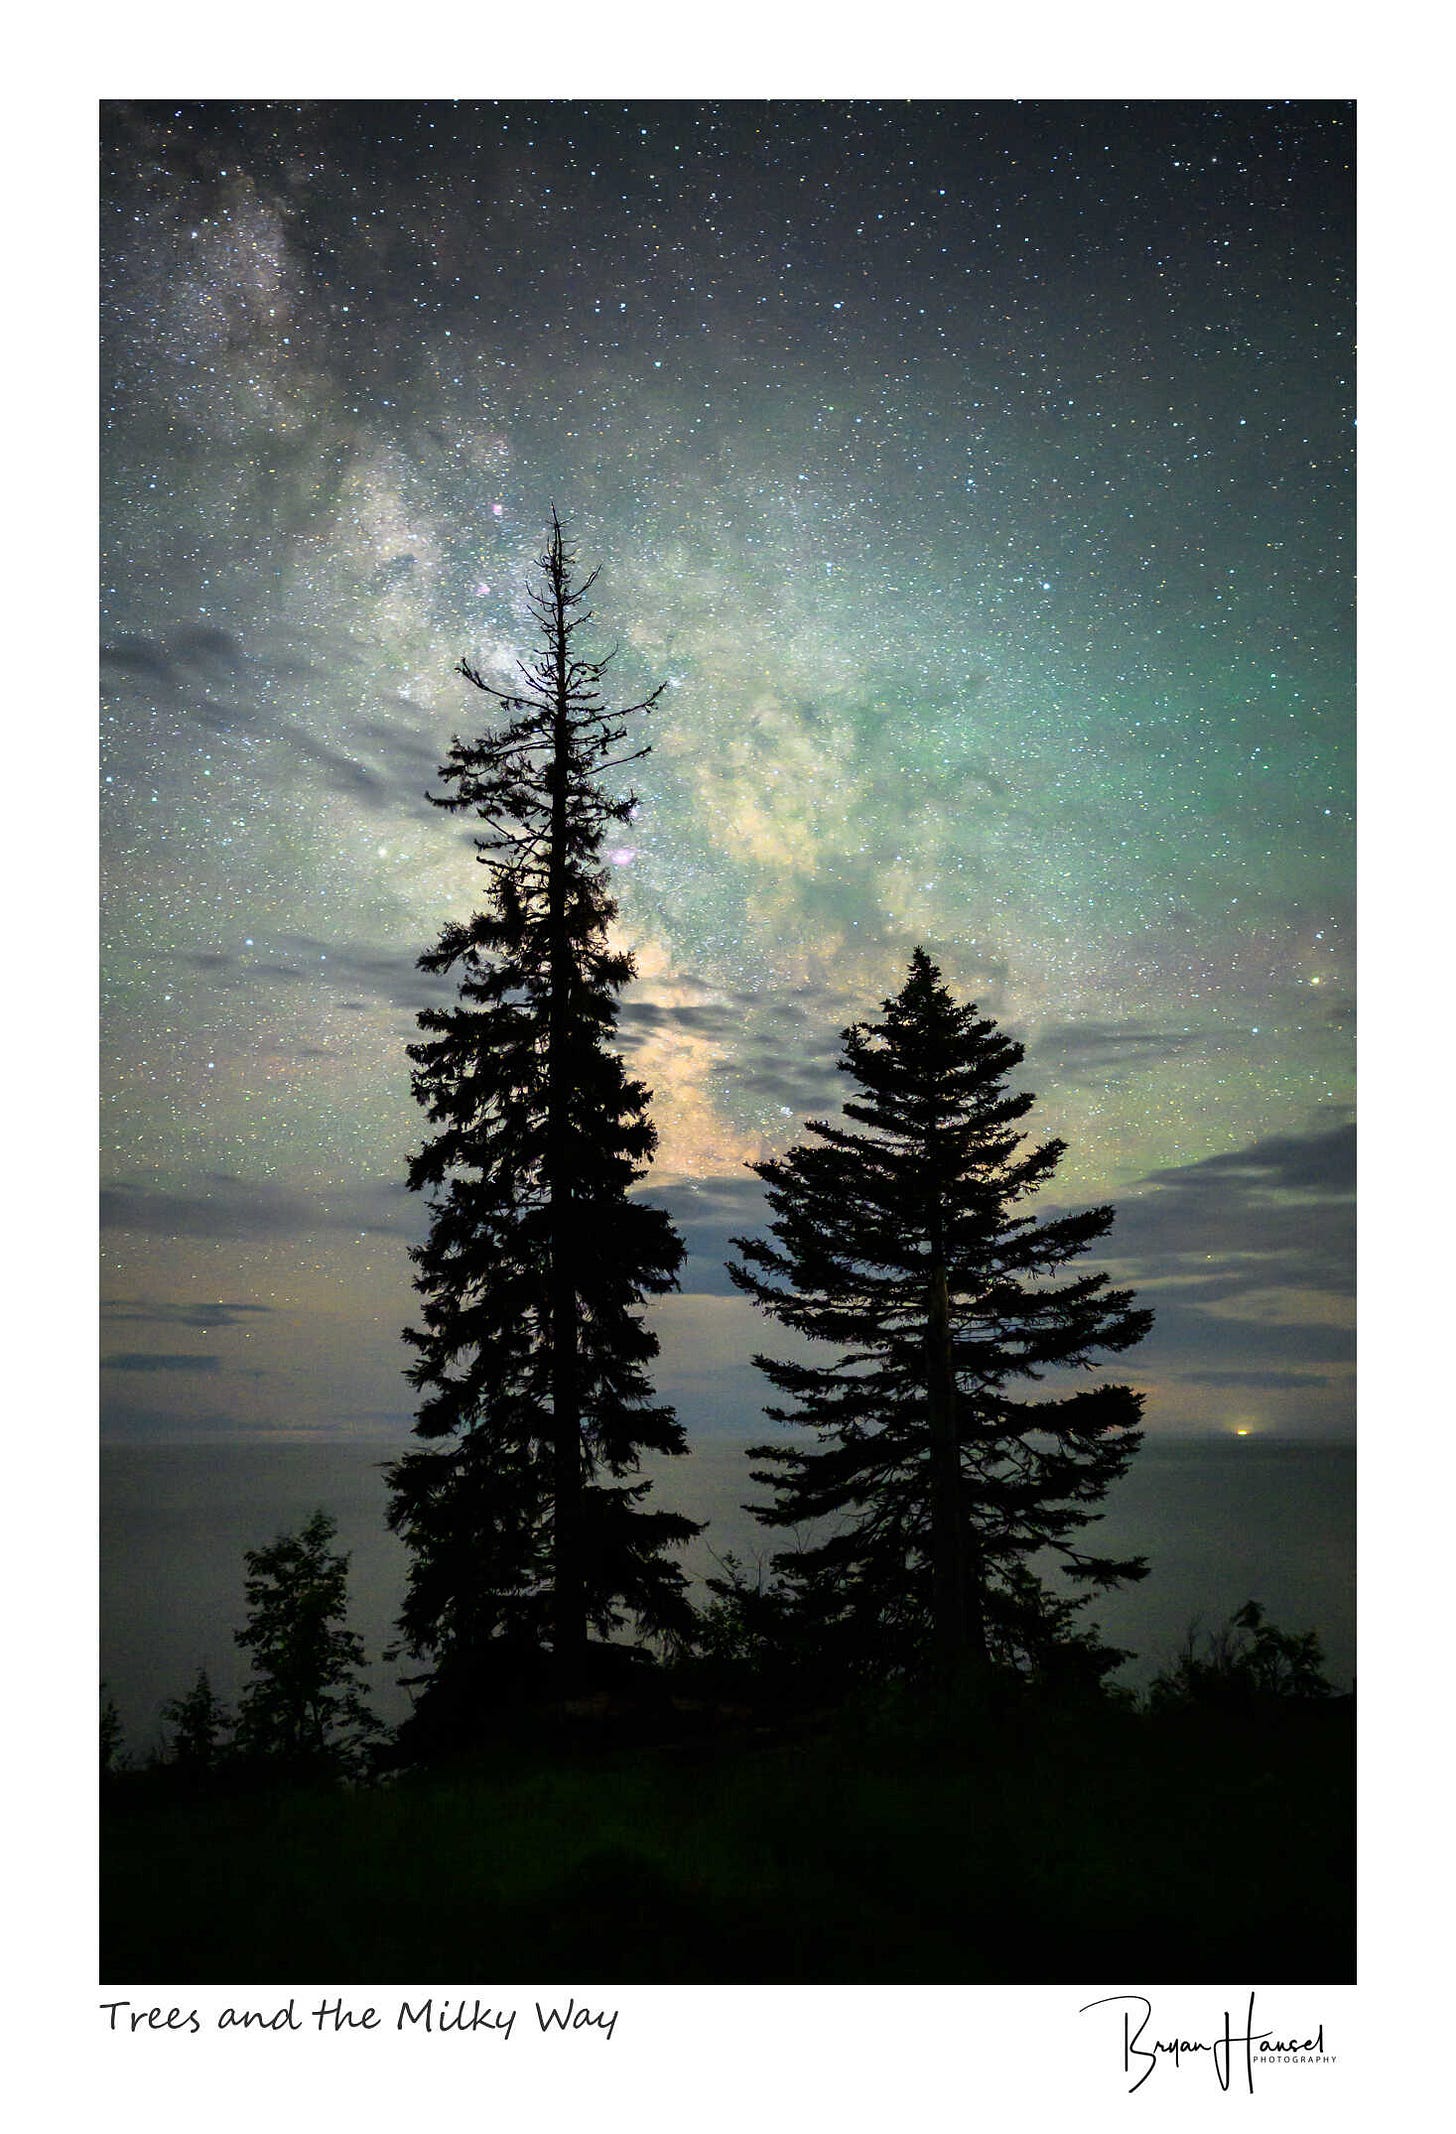
The first is from the first night, and it has already been a popular photo for print orders for me. There’s something classic about silhouetted trees against the night sky. When editing a shot like this, it’s best just to leave the trees as a stark silhouette against the night sky. Even though most recent cameras can bring out green shadow details, it isn’t needed. The contrast of a silhouette is what makes this type of shot.
I don’t like to take risks with new locations on my photo workshops. I always want to scout them out and shoot them first. Every now and then I know of a location that I haven’t shot that is near where we will be shooting and I go for it. In this case, we had extra time because a road closure wouldn’t have allowed us to make it to another location I had on the agenda. I have to say that the risk I took was well rewarded with this shot. I’ll be using this location in future workshops.
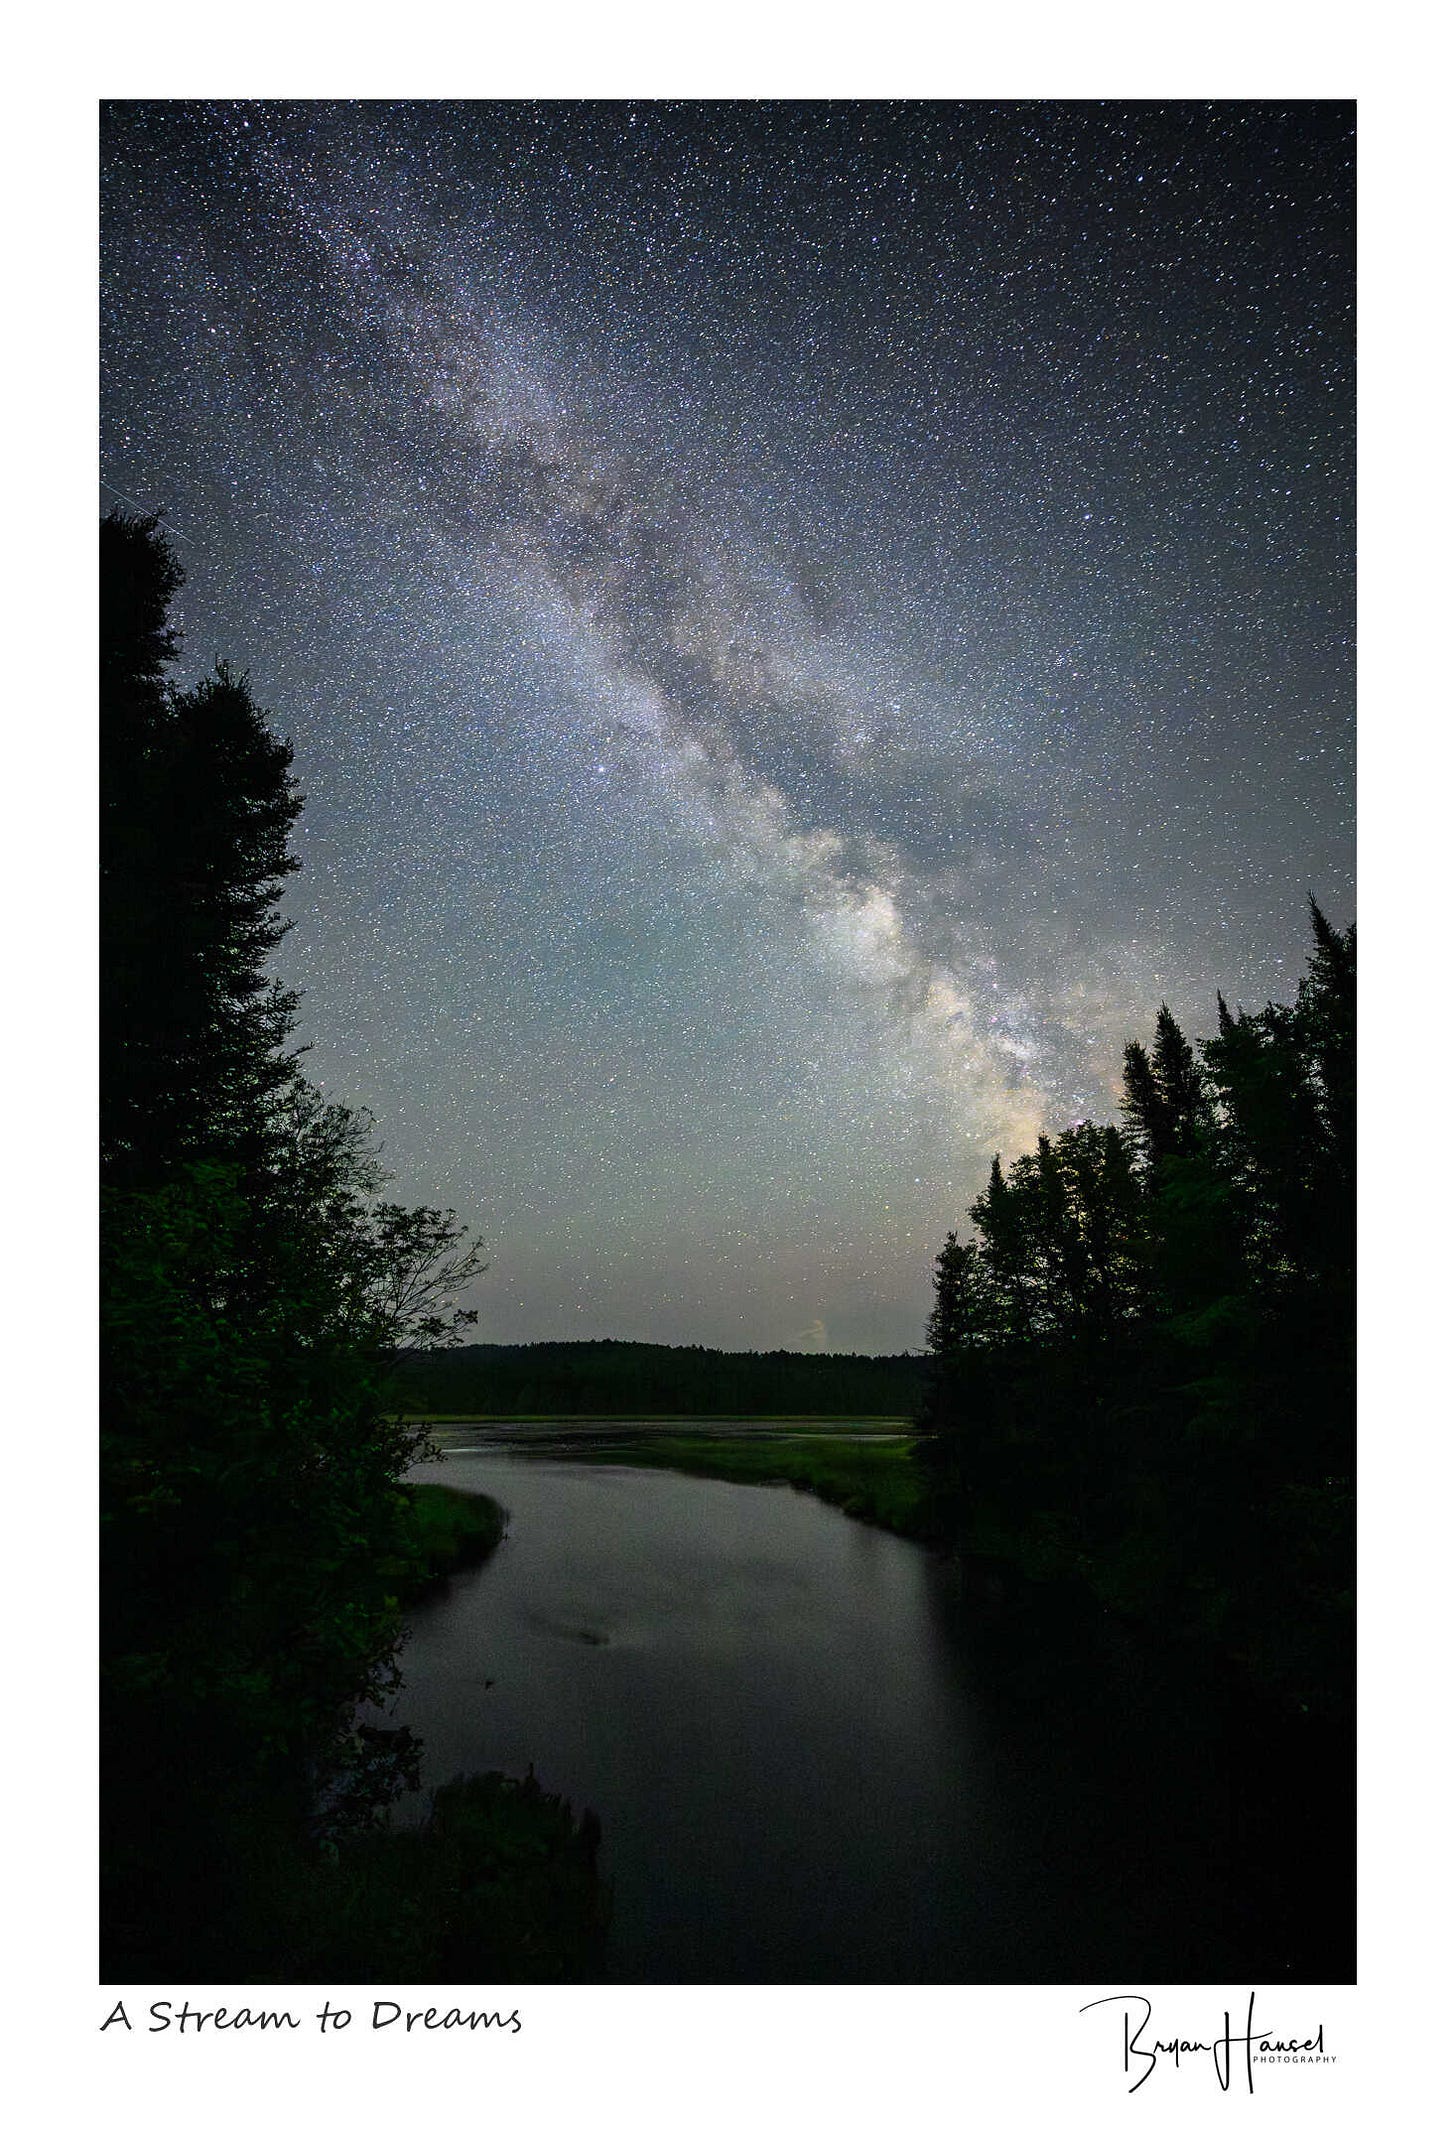
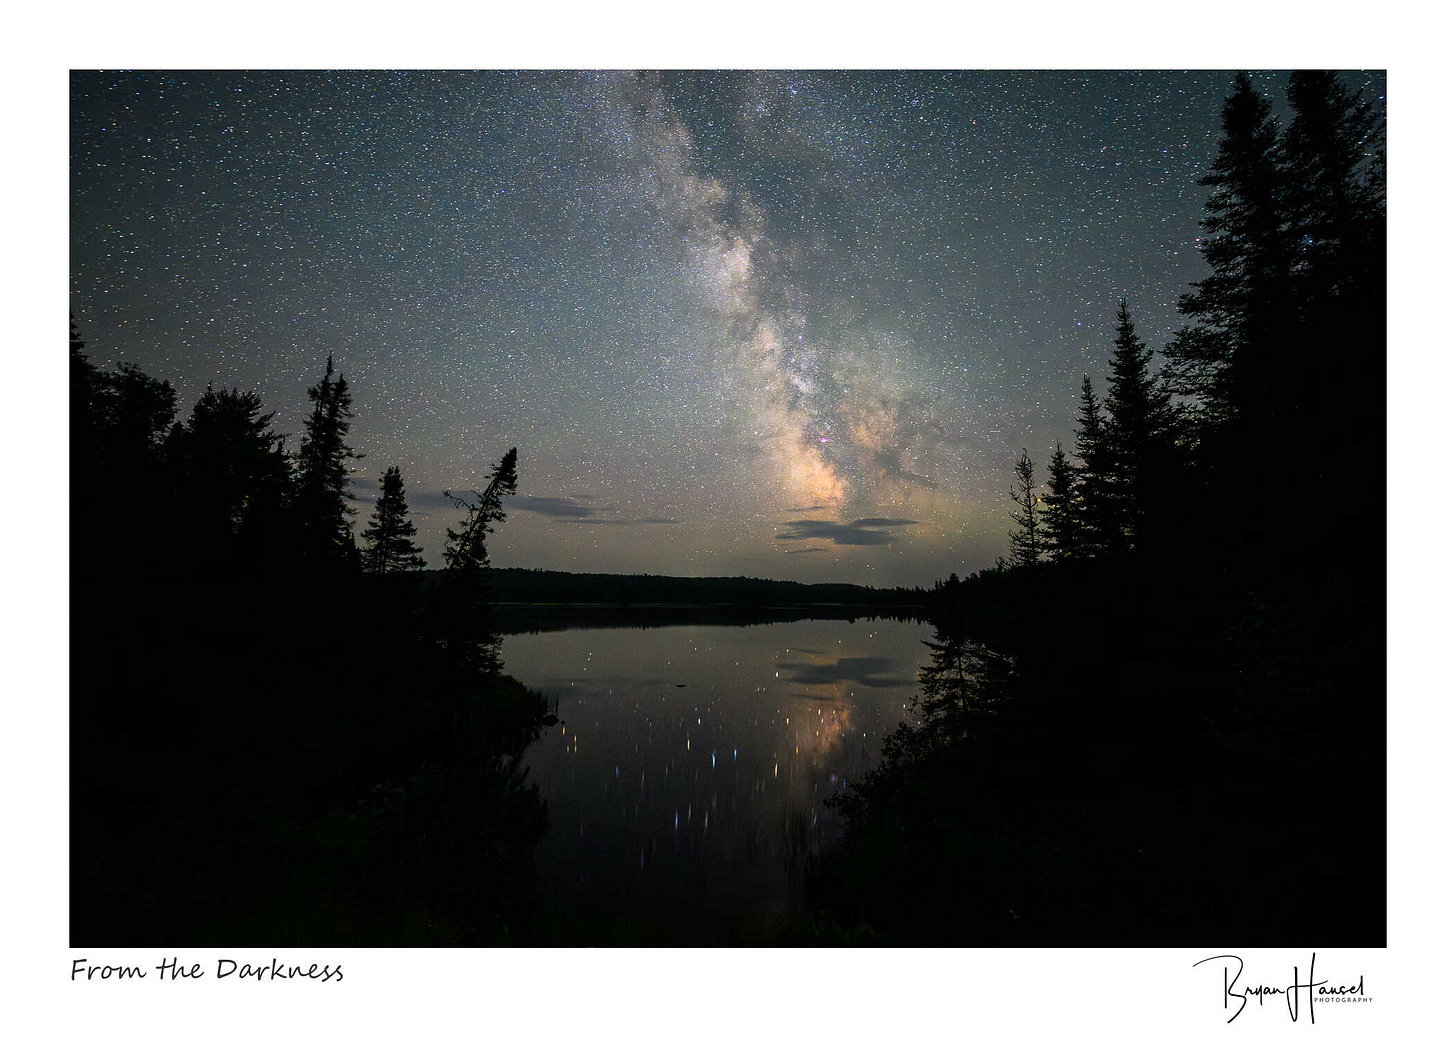
The next two locations are classic locations on my workshops and two of my favorite night sky spots in northern Minnesota. I’m not going to spill the beans on where they are, but if you find one of these while driving around you can’t miss the other.
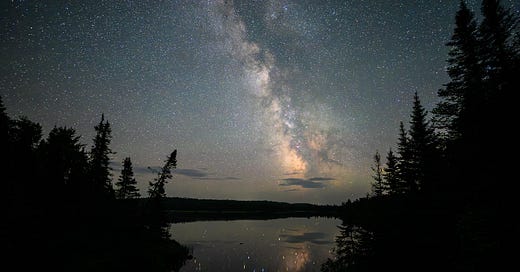
At the second location, we had a slight pink glow from the northern lights and a lot of airglow above it. The lake was so calm that the stars almost look like pinpoints. Just a plain old reflection shot works well for these types of conditions.
In the first shot, I’ve also shot it by taking multiple images of the same composition and blending them together to get a bright foreground and a detailed sky. This technique is called compositing, and the nightscape community has come up with further labels, such as stacked and blended. Blended means taking multiple images of the same composition but at different exposures and blending them together to make the composite look like a single photo. I like the technique and will show a blended composite as the last photo, but this week I was really digging silhouettes. So, I stuck with the dark trees.
The next shot is a 30-minute star trail shot during which the International Space Station passed through the shot (and a few planes and other satellites—there are so many Starlink satellites now that it’s near impossible to get a night sky photo without a satellite in it). These are somewhat easy. You point the camera at the north star and take a 30-minute picture using “Bulb” mode. I used ISO 400 and f/5 for this shot.
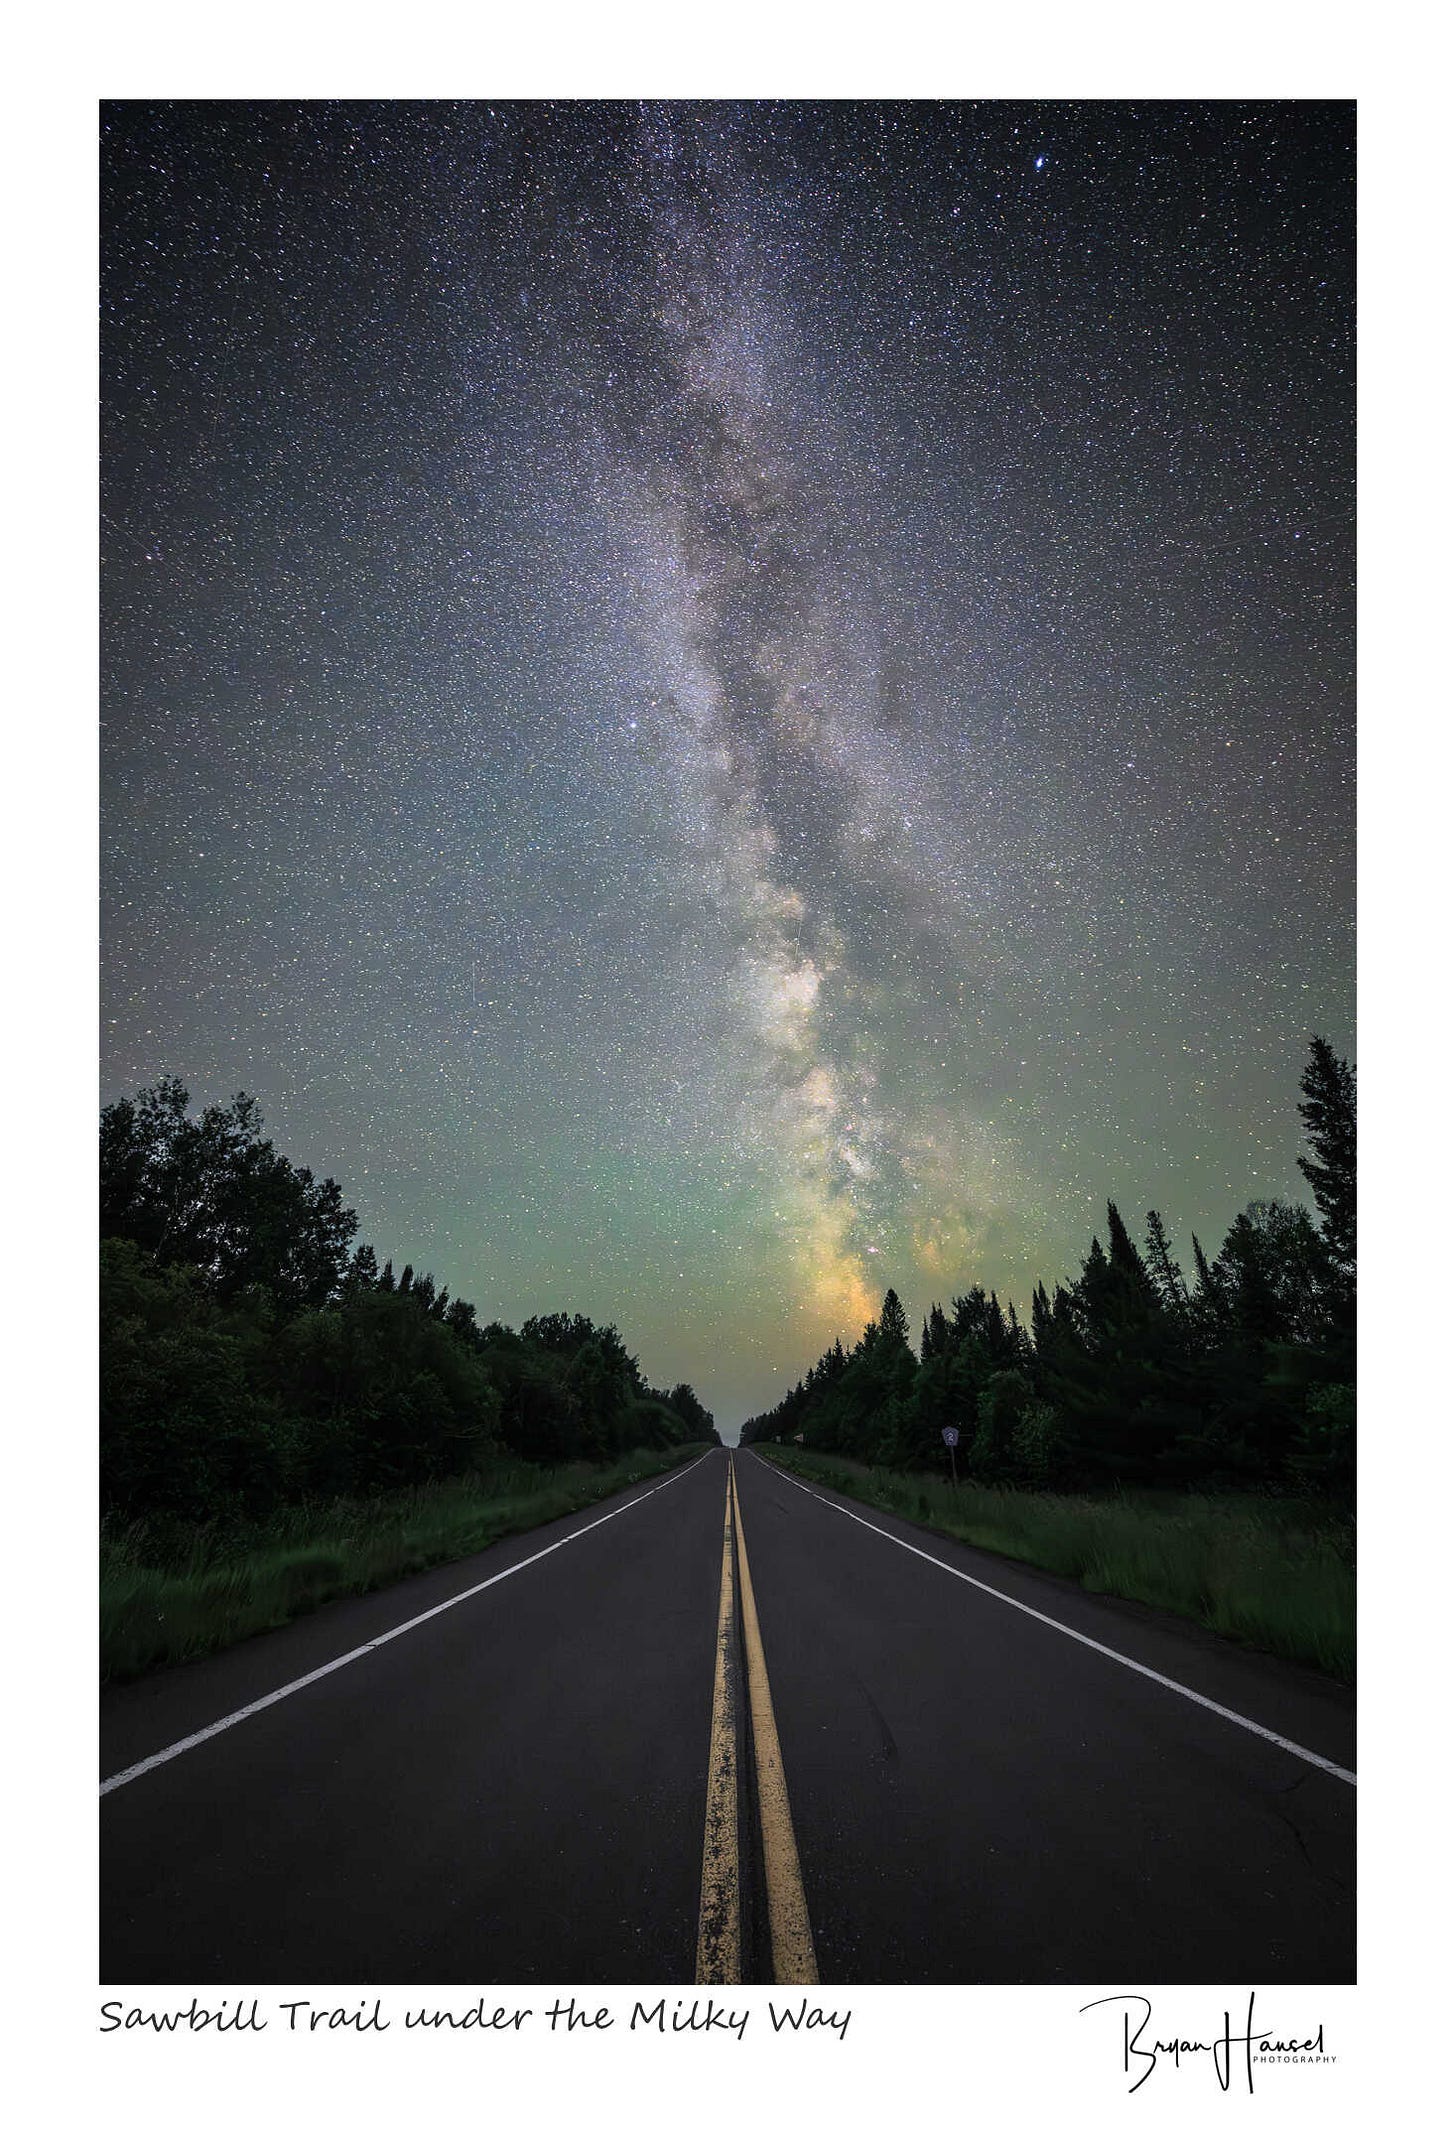
And for the last photo, here’s a two-image blended composite. I set my camera up for the composition of the road and sky that I wanted. Then I took a shot exposed for the sky (ISO 6,400, f/2.8, 25 seconds, 14mm), and then I refocused on the centerline and shot a second photo (ISO 6,400, f/4, 180 seconds, 14mm).
In the past when I wanted to make a shot like this, I would shoot eight to ten images for the sky, eight dark frames (pictures with the lens cap on), and then multiple images for the ground at a lower ISO and longer shutter. To process, I first “stacked” the sky images to reduce noise and used the dark frames to subtract noise, and then I “stacked” the ground images to reduce noise.
I moved away from doing that after the latest generation of noise reduction came out. I’ve been using only two images since then for shots like this. Adobe Lightroom Classic’s Denoise feature gets results that are fine for my print sizes and taste. For me, I don’t want to spend the extra time shooting. In the past to get all the shots would have taken 10 to 15 minutes. Now I can get them in three to four minutes and shoot more compositions.
Plus the editing is easier. Handling just two files is much easier than 20 to 25 shots and multiple different programs to edit them in. Plus, I save hard drive space. I’m at 136 megabytes for the original files instead of needing at least 1.4 gigabytes.
When taking all these changes into account, I’ve also found that the process for learning these types of composite shots is much easier for people. You can always add additional steps, but if they are able to master a blend between two images then they can refine their process from there.
With all the new editing tools in Lightroom, and the newer cameras that participants are using, night sky photography has never been more accessible. The new version of my Night Sky Presets has made it much easier for participants to edit their photos as well. I’m so happy that we have arrived at the point we have in photography because mastering night sky photography has gotten so much easier than when I first started doing night photograph. Back in the day, I remember shooting star trails with film and struggling with film reciprocal failure. Now, we don’t worry about any of that. In several years, I’d imagine it will be as easy as shooting during the day.
Until next time
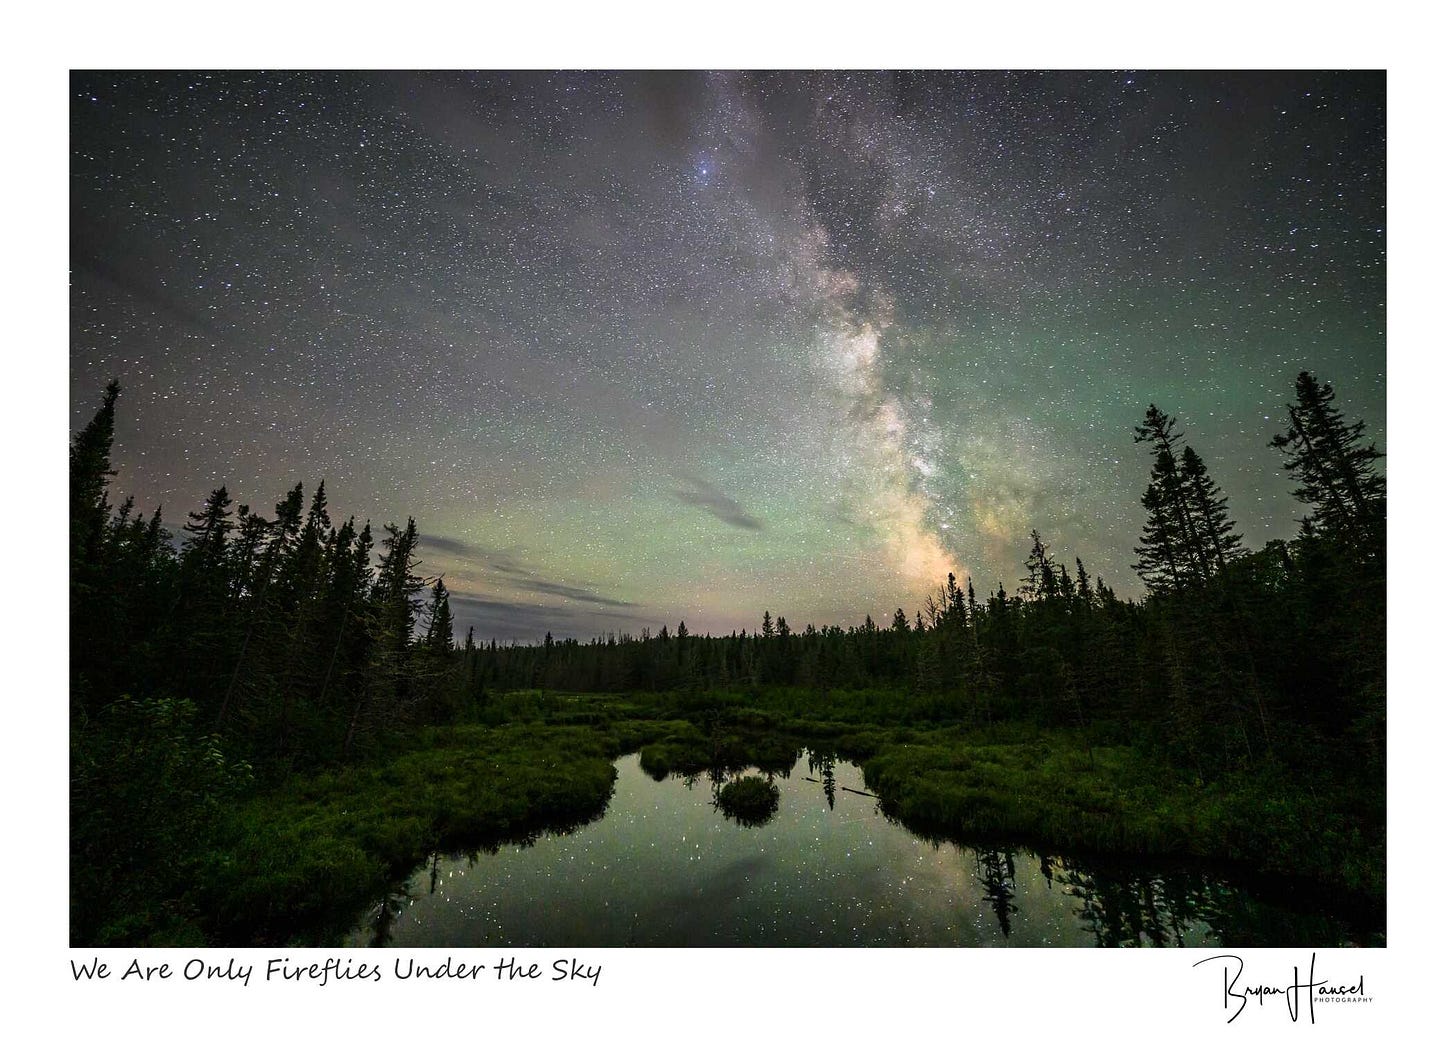
And that’s a wrap. I hope you enjoyed this issue. For the parting image, I’ll include another two-image blend. I’ll see you again in two weeks.




Beautiful photos. Thanks Bryan!
Thanks, Brian for taking us along another photo journey. I greatly enjoy and look forward to your photos and your commentary and philosophy.