

Winter Photos, Staying Warm, and Keeping Camera Gear Functioning

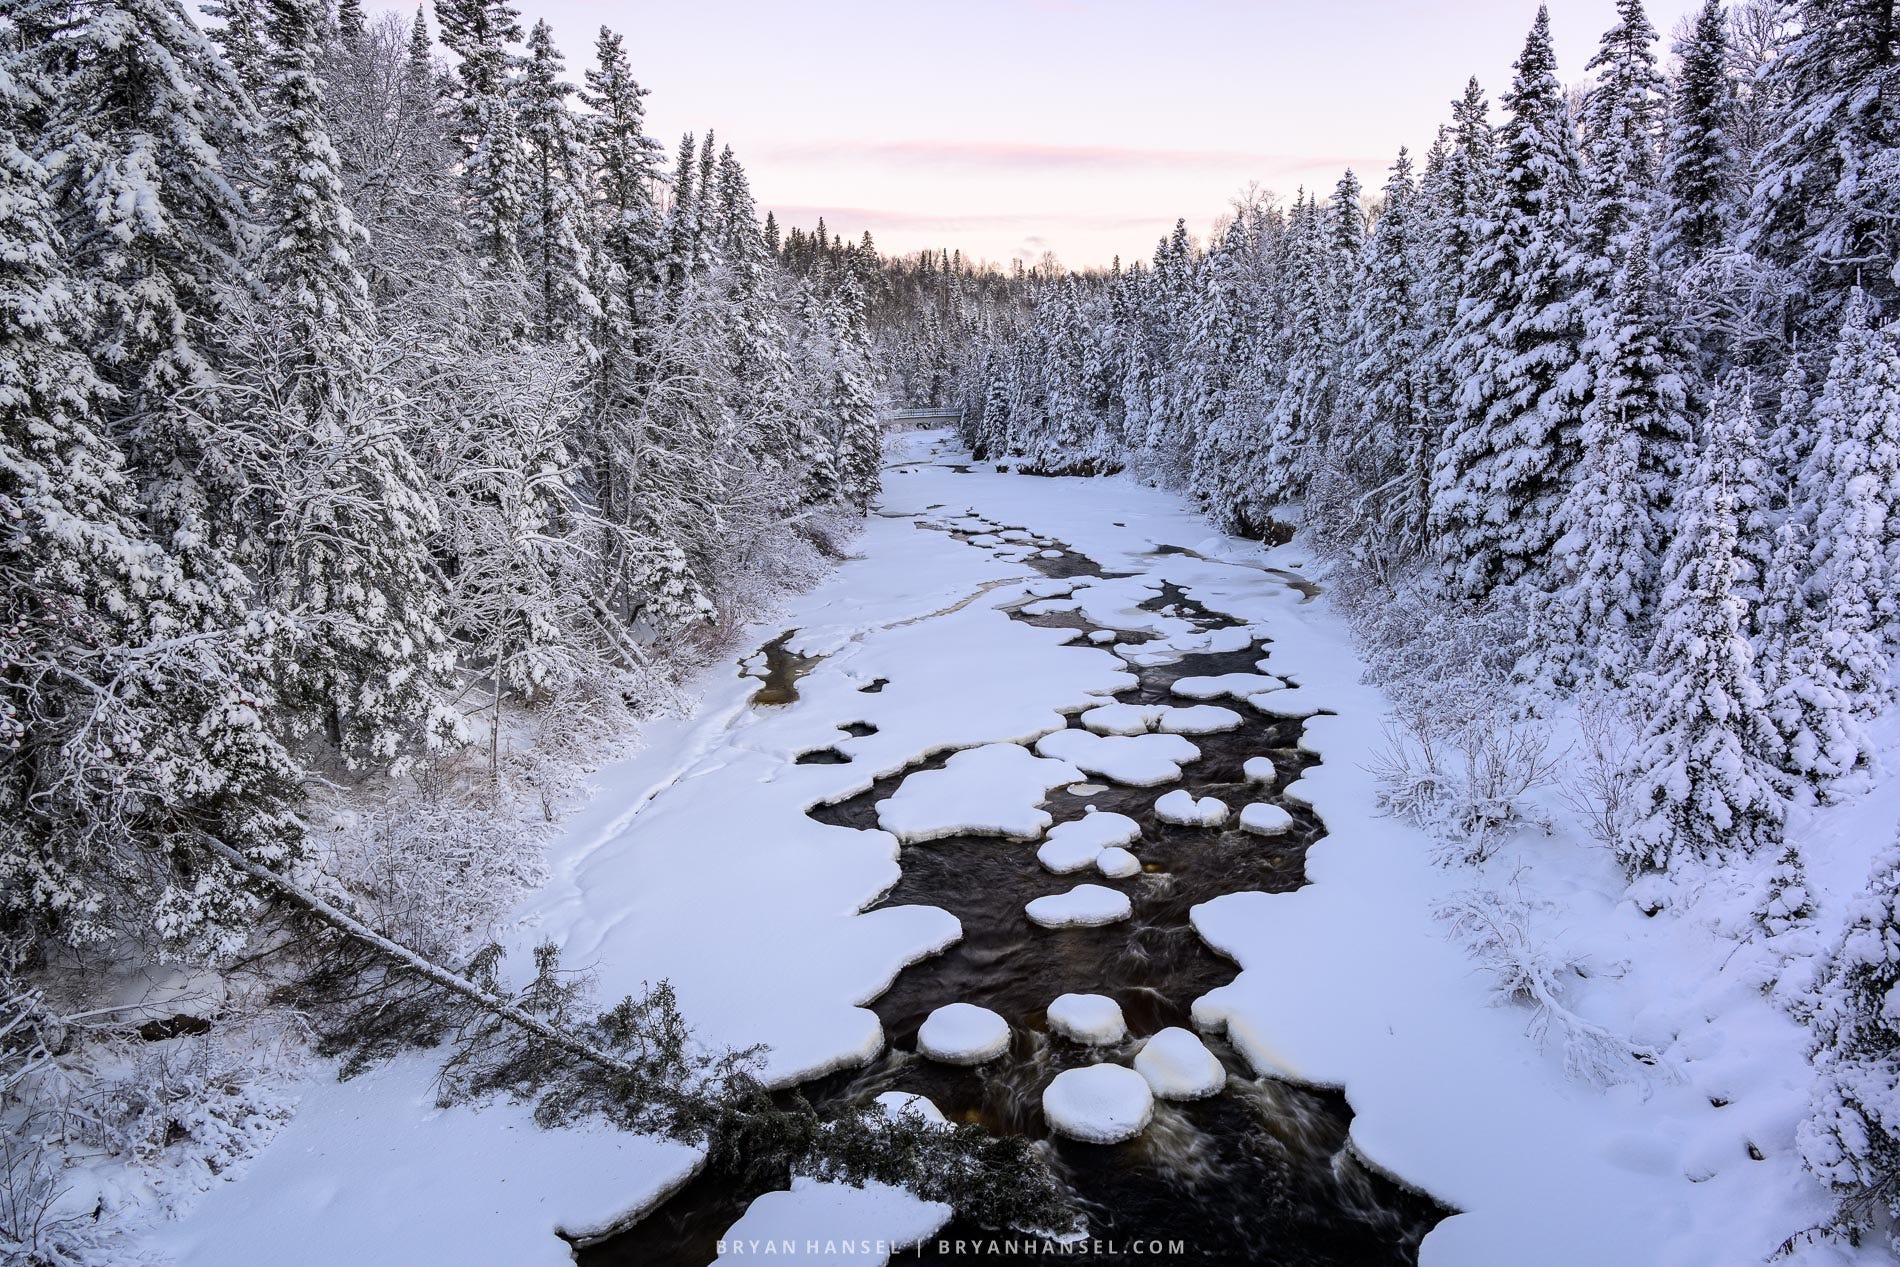
Winter is off to a good start so far in northern Minnesota. We have about two feet of snow in the woods, which is over 50% of what we got last year. It’s shaping up to be a good winter with ice growing along Lake Superior and great December photography opportunities kicking off the season.
I love winter photography, and I know it isn’t for everyone, but maybe I can help you enjoy it more with just a few tips. I’ve been teaching winter photography for nearly 20 years and two subjects tend to come up often. The first is how to keep gear functioning. The second is how to keep your hands warm. There’s a third that often gets missed, and that’s how to keep from slipping on the ice.
Over the years, I’ve written on this topic many times, so instead of rewriting all those old articles, I thought that I’d sum them up and then link to other articles if needed.
Camera gear in winter
You have two concerns for your camera gear:
Keeping the batteries functioning
Moisture
The colder temps, especially as the temps get nearer to 0°F or below, sap batteries. Newer cameras and batteries are better, but you still won’t get as many shots as you would have in the summer. The key is to carry extra batteries inside of your coat up against your body so that your body keeps them warm. When you run out of juice, you swap a warm battery for the cold battery.
You should also let your batteries warm up to above freezing before charging them. That can help them to last longer.
Moisture is not your friend in winter. What ends up happing is that your camera and lenses get cold, you bring them into the house and take them out of your pack and the warm moisture in your house forms condensation on your camera and lenses. That’s bad.
To help prevent that from happening, you should allow your camera and lenses to warm up before exposing them to that warm, moist air. If your backpack is fairly tight, you can just leave your cameras in it for a couple of hours before opening it up — it might be longer depending on how cold it is outside. I’ve had my cameras remain cold in my pack until afternoon from a sunrise session.
If your backpack doesn’t seal tight enough, you can just stuff the entire pack into a garbage bag or dry sack. Then you’ll let it warm up.
Remember to grab your memory cards out of the camera before bringing the gear inside. Otherwise, you’ll expose your camera to the moist air if you try to get the cards out before letting the camera warm up.
Keeping your hands warm for winter photography
To keep your hands warm during winter photography, I recommend using layers. I typically use a system of gloves that range from one to three layers. I wrote more about the specifics in my Gloves for Winter Photography article.
My basics are this:
Down to about 15°F, I wear insulated winter leather work gloves. I like deerskin gloves because they are more supple and that makes turning dials and pressing buttons easier. I aim for 100+ grams of insulation.
From about 15°F to 0°F, I tend to use the same insulated winter work gloves and add a thin liner glove that can be used with a touchscreen device.
Below 0°F, I tend to wear a liner and a glove with more insulation (150+ grams) or I add a Gore-tex mitten over my leather work gloves. Because those over mittens get removed often, I tether them to my wrists with straps.
Some people just can’t keep their hands warm regardless of the gloves. There are tricks. The easiest is to buy handwarmers. Last year, I picked up a pair of OCOOPA Magnetic Hand Warmers Rechargeable handwarmers from Amazon to loan to participants that get cold hands, and they work great. I highly recommend them.
If you don’t want to buy another thing, then you can swing your arms in circles or swing your arms quickly towards yourself like you are giving yourself a hug. Each hand slaps your opposite shoulder blade. Doing this quickly with force will drive a lot of warm blood into your hands and help warm them up.
The other thing to do is always keep your fingers (and toes) moving. This helps get warm blood into them and move the cold blood back to your core to warm up again.
Keeping your body warm
This basically comes down to wearing multiple layers. You don’t want to break into a sweat because if you hike into a location and get so hot that you sweat, then that sweat will cool you down when you stop. I like to do the hiking parts of my photography sessions with just enough layers to be comfortably cold, but I don’t like to be cold while standing around for an hour at the sunrise or sunset spot. So, I usually carry a heavy down coat with me that I put on when I’m done hiking.
I made a video about dressing for winter photography. You can watch it on YouTube.
Helping Prevent Slipping on the Ice
There are no guarantees that you won’t fall or slip on the ice, even if you mitigate the risks as much as you can, but you can mitigate the risks. I recommend to my students that they purchase hiking crampons.
My recommendations, which if you purchase from these links, I get a small commission:
Kahtoola K10 Crampons: This is my personal minimum safety item for photographing on ice, such as along the shores of Lake Superior.
Kahtoola KTS Crampons: These are what I use. They are an upgrade from the K10s.
Kahtoola Microspikes: These are less expensive, but they aren’t really designed to be used on ice-coated basalt shorelines. They are more for icy and packed trails.
I wrote an article that goes into greater detail about Winter Traction for Photography. If you want a deep dive, then that’s a good, long read.
Also, for snowshoes I recommend the MSR Lightning series. I have the Explore model.
Until next time
Hopefully, these three tips will encourage you to give winter photography a try. It’s my favorite time of the year, and there’s something about winter that is magical.
I’ll see you again in two weeks.
Thank you Bryan - great tips on how to combat moisture on the equipment when coming back inside.
Excellent info! I'm in Georgia and we haven't had any significant snow in 3-4 years now. The layering advice is golden, though. Thanks!